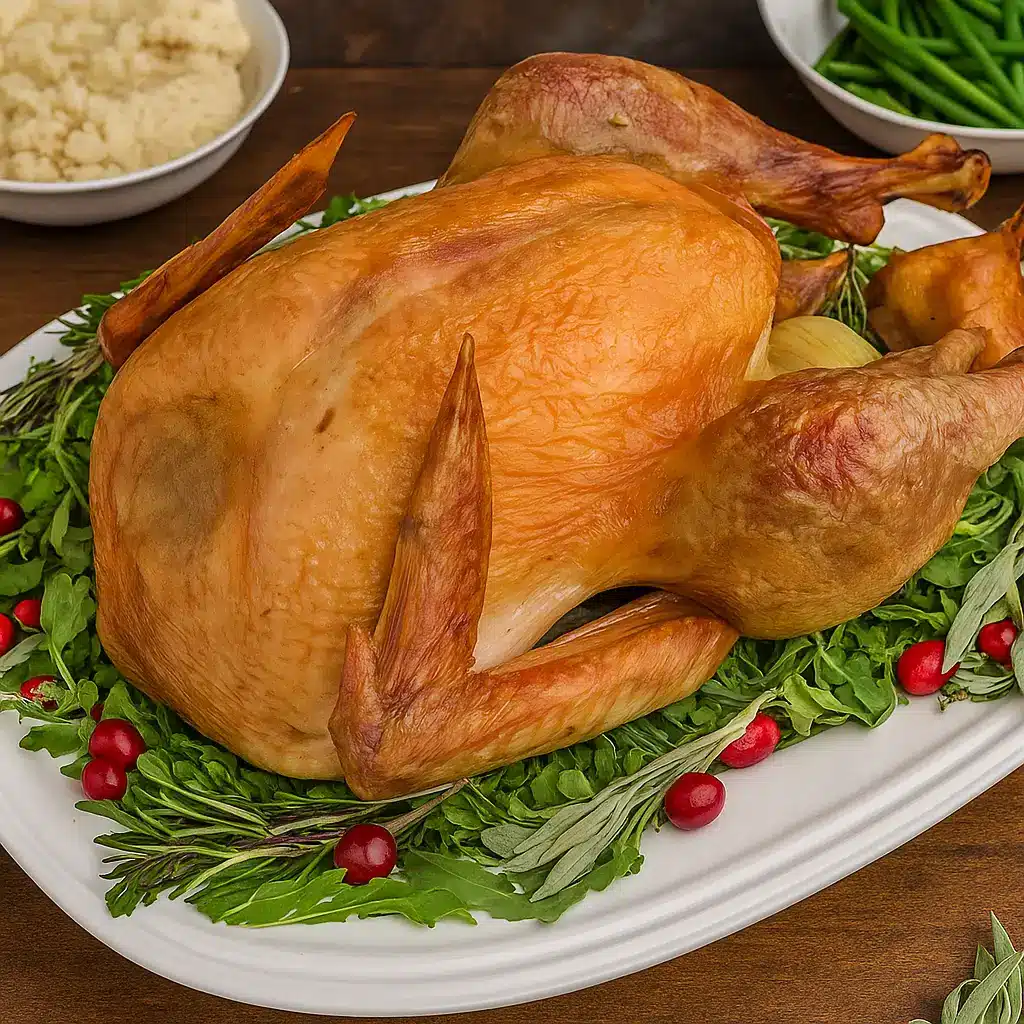
Dry Brine Cheesecloth Turkey isn’t just a mouthful to say—it’s a mouthful of buttery, juicy perfection that might just steal the Thanksgiving spotlight. If you’ve ever wrestled with a dry turkey (we’ve all been there), this is your redemption bird. The dry brine does all the heavy lifting while the butter-soaked cheesecloth keeps everything tender and golden, no last-minute panic basting required.
Think of it as your “set it, then baste it” method that guarantees a moist and flavorful turkey every time. And if you’re planning your feast menu, this turkey pairs beautifully with side dishes like Good Ole Fashion Mac and Cheese and Easy Glazed Carrots. So, grab your roasting pan and butter, and let’s make the Dry Brine Cheesecloth Turkey your new holiday tradition.
Table of Contents
What is Dry Brine Cheesecloth Turkey?
A Dry Brine Cheesecloth Turkey is basically the secret weapon to the most flavorful bird you’ve ever made—without any messy wet brine situation taking over your fridge. The dry brine method uses just kosher salt to season and tenderize the turkey ahead of time, letting it rest uncovered in the fridge so the skin dries out (translation: perfectly crispy skin later).
The cheesecloth comes in as a little culinary magic trick—soaked in melted butter, it shields the turkey while it roasts, locking in moisture and giving the skin a deep, beautiful color. The result? Juicy meat, crispy skin, and a buttery aroma that fills your whole house. This technique has been a quiet favorite among chefs for years, but it’s simple enough for any home cook to master.
Reasons to Try Dry Brine Cheesecloth Turkey
If the words “juicy turkey” make your heart skip a beat, this recipe’s for you. First, the dry brine works overnight to season the meat all the way through—no bland bites here. Second, the cheesecloth trick takes away all the stress of over-basting or burning the skin. You’ll spend less time hovering over the oven and more time sipping cider (or wine, no judgment).
Third, this method is foolproof—if you can melt butter, you can nail this recipe. And finally, the results are impressive enough to make everyone think you secretly went to culinary school. For the full feast experience, serve it with Rosemary Garlic Mashed Potatoes or Thanksgiving Turkey Stuffing—trust me, you’ll have a table full of happy faces.
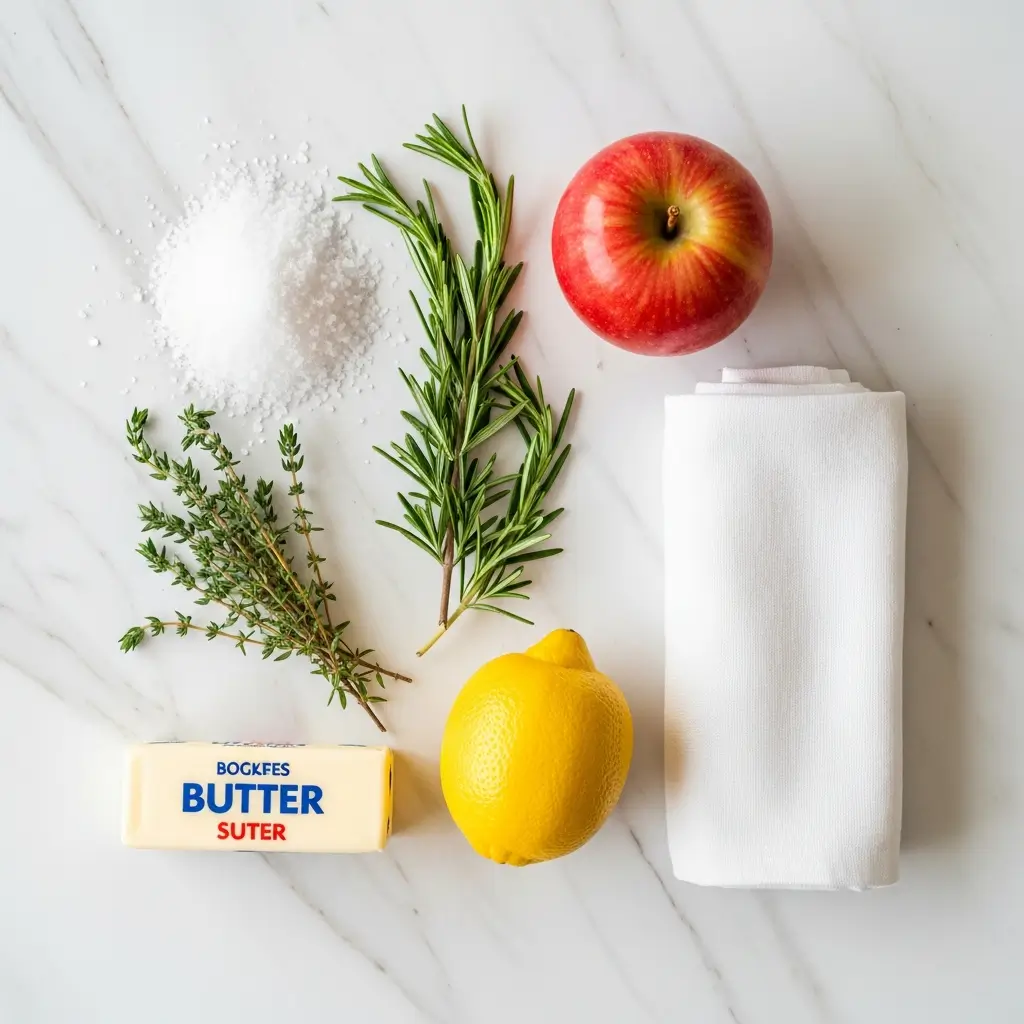
Ingredients Needed to Make Dry Brine Cheesecloth Turkey
- 1 (12–15 lb) turkey, not pre-brined
- 2 ½ – 3 tablespoons kosher salt
- ½ small apple, halved
- ½ onion, halved
- ½ lemon, halved
- 4–5 sprigs fresh herbs (sage, thyme, rosemary)
- ¾ cup unsalted butter, melted
Instructions to Make Dry Brine Cheesecloth Turkey
If this is your first time trying a Dry Brine Cheesecloth Turkey, don’t worry—you’ve got this. Follow this Step-by-Step guide and you’ll end up with a turkey so tender and golden it’ll make everyone at the table stop mid-conversation. Let’s walk through every detail, from thawing to carving, with easy and realistic tips that actually make sense for busy home cooks.
Step 1: Thaw and Prepare the Turkey
This first Step-by-Step move is all about timing. If your turkey’s frozen, give it the time it needs—plan on about 24 hours for every 4–5 pounds of bird in the fridge. So, for a 12-15 lb. turkey, that’s roughly three to four days. Add one extra day if you’re following this dry brine method since you’ll need that time to let the salt work its magic. Once fully thawed, remove all packaging and take out the giblets and neck from the cavity (save them for gravy or Thanksgiving Turkey Stuffing if you’d like). Pat the turkey thoroughly dry with paper towels—moisture is the enemy of crispy skin.
Now comes the brine magic: sprinkle kosher salt all over the turkey. Don’t just dust it—rub it in lovingly, making sure to reach under the skin around the breast and thighs without tearing it. Salt the inside cavity, too. This step seasons the meat deeply and draws out moisture that will later be reabsorbed, creating juicy, flavorful meat. Place the turkey breast-side up on a rack in a roasting pan and refrigerate uncovered for 24–48 hours. During this time, the salt does all the heavy lifting while the skin naturally dries for that perfect roast finish.
Step 2: Bring to Room Temperature
The next Step-by-Step part is crucial for even cooking. About one hour before roasting, take the turkey out of the fridge. Letting it sit at room temperature allows the meat to cook more evenly (no icy centers, thank you very much). While it sits, gather your aromatics—apple, onion, lemon, and fresh herbs like rosemary, thyme, and sage. These aren’t just for flavor; they help steam the inside of the turkey from within, giving it a subtle, fragrant aroma that pairs beautifully with classic sides like Rosemary Garlic Mashed Potatoes.
Step 3: Preheat and Prepare the Cheesecloth
Now, here’s where this Step-by-Step guide gets buttery. Preheat your oven to 325°F and adjust the rack to the lowest position so your turkey has plenty of headroom. While the oven warms up, melt your butter—¾ cup of pure, unsalted butter (this is not the time for margarine or light substitutes). Take your cheesecloth and unfold it completely, then fold it twice until you have four layers. Cut it to roughly the size of your roasting pan. Submerge the cheesecloth in the melted butter until it’s soaked through—like a buttery blanket ready for action.
This technique, by the way, is what sets this recipe apart from a traditional roast. The cheesecloth keeps the skin from drying out while helping it brown evenly. It’s a time-tested chef’s trick that gives you a picture-perfect turkey without all the basting fuss.
Step 4: Stuff and Drape
Now it’s time to get that turkey ready for the oven. Lightly stuff the cavity with the apple, onion, lemon halves, and herbs. Don’t overdo it—fill it just halfway so heat can circulate freely, cooking the bird evenly. Carefully drape the butter-soaked cheesecloth over the turkey so it’s fully covered from breast to thigh. Pour any leftover butter over the top (don’t waste a single drop!). This will start the roasting process with a delicious buttery coating that seeps into the meat.
If you want to try a similar flavor combination in another dish, check out Cranberry Orange Glazed Turkey Breast—it uses citrus and herbs too but is great for smaller gatherings.
Step 5: Roast the Turkey
Time for the big moment in this Step-by-Step journey—roasting. Place the turkey in the preheated oven and let it cook for 2¾ to 4 hours, depending on size. Rotate the pan halfway through cooking for even browning, and if you want, baste every hour using the pan drippings (though with the cheesecloth, you’ll barely need to). You’ll know it’s done when the internal temperature reads 165°F in the thickest part of the breast and between the leg and thigh. Use an instant-read thermometer for accuracy—it’s your best friend here.
Step 6: Remove the Cheesecloth
When your Dry Brine Cheesecloth Turkey reaches the perfect golden hue and temperature, take it out of the oven. Carefully remove the cheesecloth—if it sticks a bit, sprinkle a little warm water to loosen it. Beneath that buttery wrap lies a turkey with crispy, caramelized skin and tender, juicy meat. Trust me, the reveal is a goosebump moment.
Step 7: Rest Before Carving
Resist the urge to carve right away. This Step-by-Step rule might be the hardest part—patience. Tent the turkey loosely with foil and let it rest for at least 30 minutes. This allows the juices to redistribute throughout the meat instead of running onto your cutting board. Resting also makes carving easier and cleaner. Use this time to warm up sides like Creamy Pumpkin Gnocchi Delight or Easy Glazed Carrots.
Once rested, carve your masterpiece. The skin will crackle just slightly, and the slices will glisten with buttery juices—everything you’ve worked for in this Step-by-Step method coming together beautifully.
Step 8: Serve and Save the Leftovers
Arrange your turkey on a platter, garnish with fresh herbs and citrus slices, and watch the crowd go wild. For leftovers, think beyond sandwiches. Try Leftover Turkey Tortilla Soup or Healthy Turkey Rice Soup to turn your next-day meal into something exciting and cozy.
What to Serve with Dry Brine Cheesecloth Turkey
This turkey is a showstopper, but every star needs a supporting cast. Serve it with Creamy Pumpkin Gnocchi Delight or Classic Green Bean Casserole for a cozy Thanksgiving vibe. Add Candied Carrots or Sweet Potato Casserole with Pecan for that sweet touch. For dessert, try No-Bake Apple Pie Cheesecake. It’s a feast to remember and easy enough to pull together even if you’re juggling family, guests, and holiday chaos.
Key Tips for Making Dry Brine Cheesecloth Turkey
- Start early—dry brining 24–48 hours ahead is what builds deep flavor.
- Don’t overstuff the turkey; airflow is your friend for even cooking.
- Use real butter—this isn’t the time for substitutes.
- Check internal temperature in the thickest part of the breast and thigh crease—165°F means it’s done.
- For a crispier finish, remove the cheesecloth during the last 30 minutes of roasting.
- Let it rest before slicing; patience truly pays off here.
Storage and Reheating Tips for Dry Brine Cheesecloth Turkey
Once dinner’s over, don’t let that beautiful turkey go to waste. Store leftovers in airtight containers in the fridge for up to three days or freeze for up to three months. When reheating, do it gently—use a low oven (300°F) with a splash of broth to keep the meat moist. Leftovers are fantastic in soups like Leftover Turkey Tortilla Soup or Healthy Turkey Rice Soup. You can also toss it into casseroles like Leftover Thanksgiving Turkey Casserole for an easy next-day meal.
FAQs
Can I use a pre-brined turkey?
No, skip pre-brined birds—they’ll end up too salty. Start with a natural, unseasoned turkey.
Do I need to rinse off the salt before cooking?
Nope! The salt fully absorbs into the meat, so no rinsing needed.
Can I use salted butter for the cheesecloth?
Unsalted butter works best so you can control the salt level.
What if I don’t have cheesecloth?
You can baste every 30 minutes, but honestly, the cheesecloth trick is worth finding.
How long should I let it rest before carving?
At least 30 minutes, but an hour is even better for juicy slices.
Final Thoughts
The Dry Brine Cheesecloth Turkey is proof that a little prep leads to big rewards. It’s simple, reliable, and downright delicious. Whether you’re hosting Thanksgiving for the first time or the fifteenth, this method will make you feel like a pro. Pair it with your favorite sides, pour yourself a glass of wine, and enjoy the compliments rolling in—because you just nailed the centerpiece of your feast.
Follow us on Pinterest for weekly slow cooker inspiration, or join the conversation over on our Facebook page where fellow food lovers share their favorite comfort meal.

Dry Brine Cheesecloth Turkey: The Ultimate Juicy Thanksgiving Bird
- Prep Time: 20 minutes
- Cook Time: 2 hours 30 minutes
- Total Time: 1 day 3 hours 50 minutes
- Yield: 8 servings
- Category: Main Course
- Method: Roasting
- Cuisine: American
Description
This dry brine turkey roasts under a butter-soaked cheesecloth for an incredibly juicy and flavorful centerpiece. Perfect for Thanksgiving, it delivers crisp skin, tender meat, and reliable results every time.
Ingredients
- 12–15 pound turkey, not pre-brined
- 2 1/2 – 3 tablespoons kosher salt
- 1/2 small apple, halved
- 1/2 onion, halved
- 1/2 lemon, halved
- 4–5 sprigs fresh herbs (sage, thyme, rosemary, etc.)
- 3/4 cup unsalted butter, melted
Instructions
1. 4–5 days before cooking, thaw the turkey in the refrigerator if frozen.
2. 24–48 hours before cooking, remove packaging, giblets, and neck from the turkey. Pat dry with paper towels.
3. Rub kosher salt all over the turkey, including inside the neck and body cavities and under the skin where possible.
4. Place the turkey breast side up on a rack in a roasting pan and refrigerate uncovered.
5. 1 hour before cooking, remove the turkey from the fridge and let it sit at room temperature.
6. Preheat the oven to 325°F. Position the rack on the lowest level.
7. Stuff the turkey with apple, onion, lemon, and herbs. Do not overstuff—keep the cavity half full.
8. Fold a large piece of cheesecloth into 4 layers to fit over the turkey. Soak the cheesecloth in melted butter and drape it over the turkey.
9. Roast the turkey for 2 3/4 to 4 hours, rotating the pan and basting every hour if desired, until the internal temperature reaches 165°F.
10. Remove the turkey from the oven and gently discard the cheesecloth. If it sticks, pour water over the area to loosen.
11. Tent the turkey with foil and rest for 30 minutes before carving.
Notes
Thaw your turkey in advance—allow 24 hours for every 4–5 pounds, plus one extra day for brining.
Avoid overstuffing the cavity to ensure even cooking and proper airflow.
Cook time is approximately 13–15 minutes per pound at 325°F.
To check doneness, insert an instant-read thermometer into the thickest part of the breast and the crease between the leg and thigh. The turkey is done at 165°F.
Leftovers can be stored in an airtight container in the fridge for up to 3 days or frozen for later use.