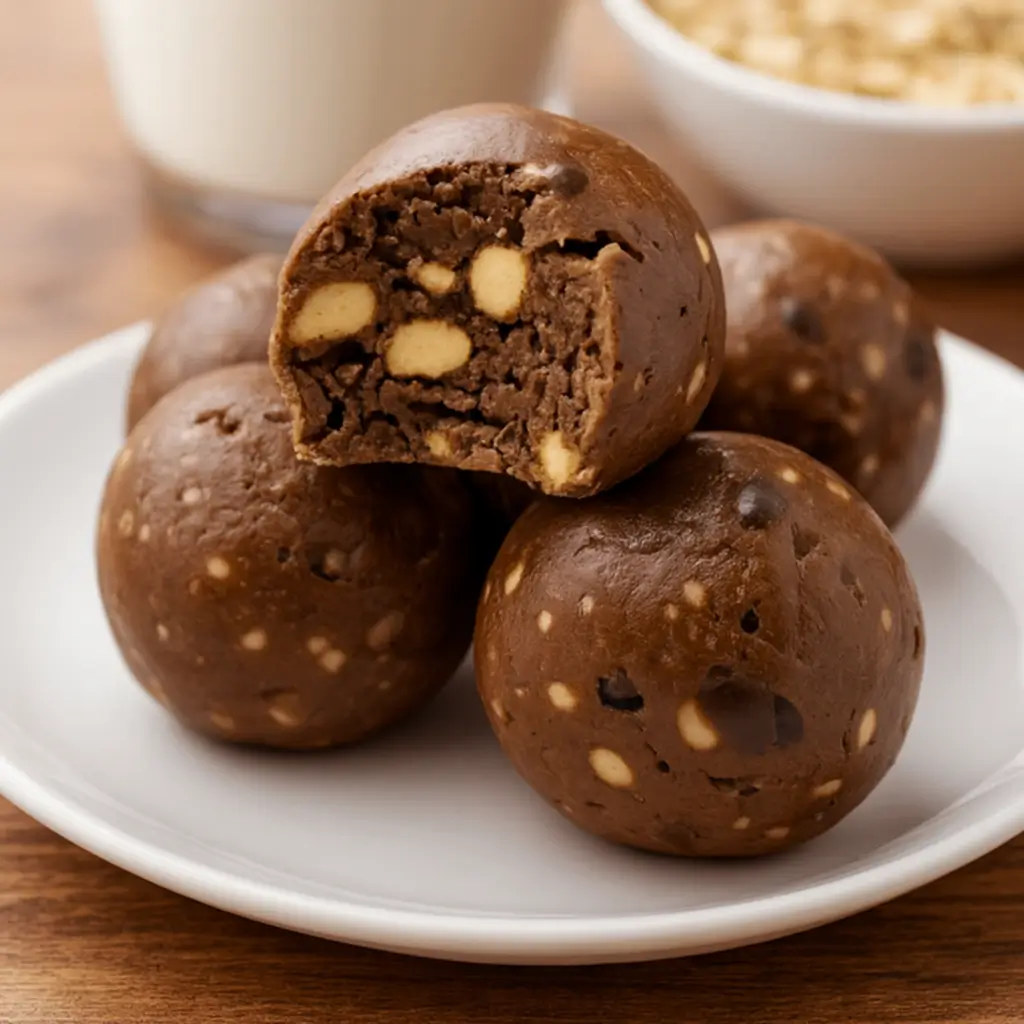
Best No-Bake Protein Balls are your new secret weapon for surviving those snack-time emergencies without wrecking your healthy eating goals. These bite-sized treats combine creamy peanut butter, oats, honey, and a touch of chocolate into something so simple yet wildly satisfying. Whether you’re running between work meetings or packing lunchboxes for the kids, these protein-packed little wonders keep everyone fueled and happy.
And the best part? No oven, no mess, no drama. Just mix, roll, chill, and snack. If you’ve ever wished for a snack that feels indulgent but actually supports your wellness journey, these Best No-Bake Protein Balls are exactly what you’ve been craving. They’re proof that eating well doesn’t have to mean spending hours in the kitchen — because honestly, who has time for that?
Table of Contents
What is Best No-Bake Protein Balls?
The Best No-Bake Protein Balls are a quick, fuss-free snack made from wholesome ingredients that come together in under ten minutes. They’re packed with protein powder, healthy fats, and fiber — basically, everything you need to power through your day. No baking required, which means no waiting around for the oven to preheat or cooling racks to fill your counter. They’re the kind of recipe busy people dream about: easy, adaptable, and endlessly customizable.
Want them sweeter? Add more honey. Want them more chocolatey? Go wild with dark chocolate chips. Plus, these no-bake treats store beautifully in the fridge, ready to grab whenever a craving hits. Think of them as a cross between a cookie dough bite and a protein bar — except better, because you made them yourself.
Reasons to Try Best No-Bake Protein Balls
First, they’re fast — like, under 15 minutes fast. Perfect for busy mornings or post-workout snacks. Second, they’re made with real, nourishing ingredients you can feel good about feeding your family. No mystery preservatives or complicated steps, just peanut butter, oats, honey, and protein powder. Third, these no-bake protein balls are so versatile.
You can swap ingredients to fit your lifestyle — vegan? Use maple syrup. Gluten-free? Try certified oats. They’re also a total crowd-pleaser for both adults and kids (seriously, they disappear fast). Finally, these Best No-Bake Protein Balls deliver balanced energy — no sugar crash here. They’re the ultimate snack to keep you satisfied between meals, pre-gym, or during those mid-afternoon slumps.
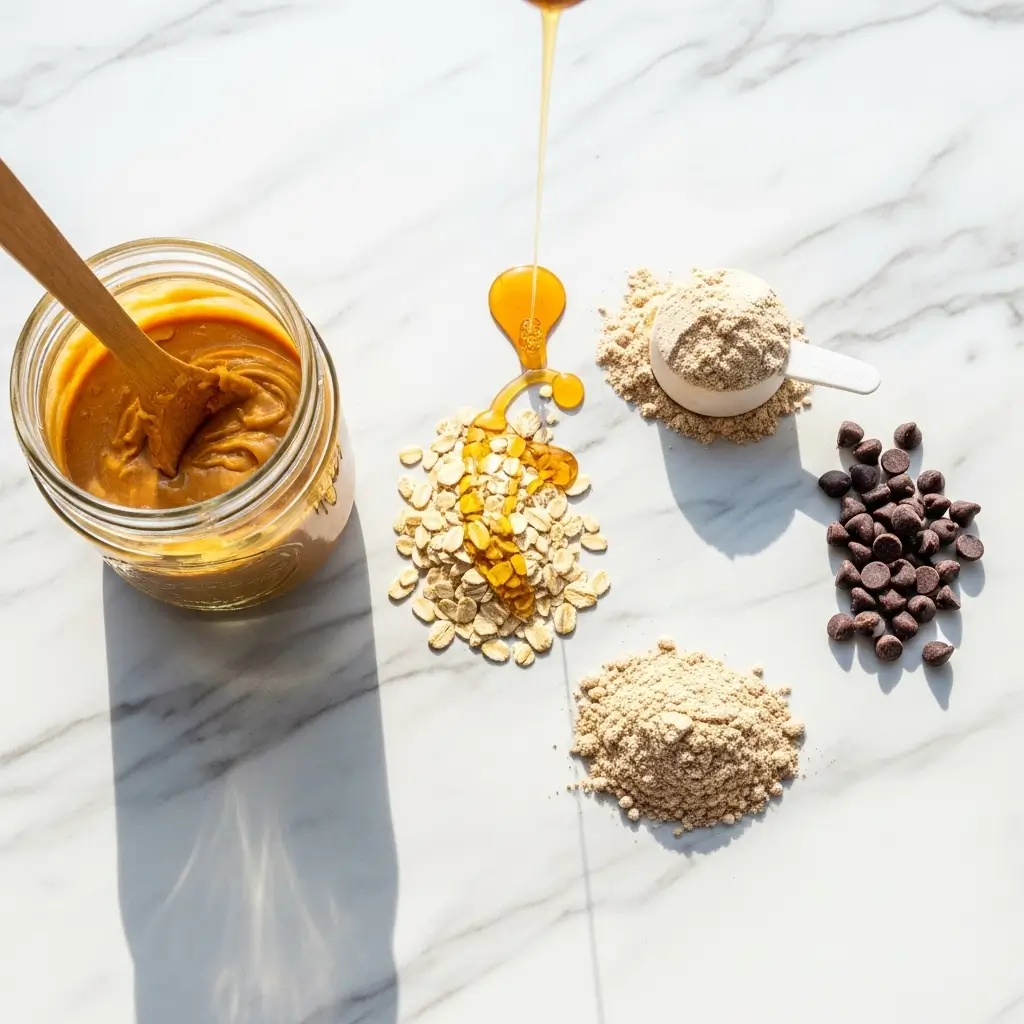
Ingredients Needed to Make Best No-Bake Protein Balls
Wet Ingredients:
- 1 cup no-stir creamy peanut butter (natural, no added oils)
- 1/3 cup honey (or maple syrup/agave for a vegan twist)
Dry Ingredients:
- 1 cup old-fashioned oats
- 1/2 cup vanilla protein powder
- 1 pinch salt (sea or kosher salt)
Mix-ins:
- 1/2 cup mini chocolate chips (use dark chocolate for extra health benefits)
Instructions to Make Best No-Bake Protein Balls – Step by Step
Making the Best No-Bake Protein Balls is as simple as it gets — no oven, no stress, and barely any dishes. Below is your step-by-step guide to creating perfect, chewy, and delicious protein bites that taste like dessert but fuel your body like a pro. Whether you’re a meal-prep lover or a “throw-it-together-and-go” kind of cook, these directions are foolproof.
Step 1: Gather and Prep Your Ingredients
Before you begin, take a minute to set everything out on your counter. You’ll need a large mixing bowl, a sturdy spoon or spatula, and a parchment-lined baking sheet. Having all your ingredients measured and ready to go makes the process smoother — it’s your first Step by Step toward success. Choose a no-stir creamy peanut butter, preferably one made with just peanuts and salt.
Skip the oily or extra-sweet brands — they can make the dough greasy or overly soft. Grab your protein powder, honey (or maple syrup if vegan), rolled oats, mini chocolate chips, and a pinch of salt. If you’re curious about clean, high-protein ingredients, check out our Protein Cookie Dough recipe — it’s made with similar pantry staples and offers great mixing insights.
Step 2: Combine the Wet Ingredients
In your large bowl, add the creamy peanut butter and honey. These two create the rich, sticky base that gives your Best No-Bake Protein Balls their soft, chewy texture. Using a spatula or wooden spoon, mix them together until they’re completely blended. If your honey feels thick or stubborn, warm it for about 10 seconds in the microwave — it’ll mix more easily. This step is important because a smooth, cohesive base helps your dry ingredients bind perfectly later. Think of this as the “foundation” of your Step by Step snack-building process.
Step 3: Add the Dry Ingredients
Next, stir in your old-fashioned oats, protein powder, and pinch of salt. Fold everything together until it starts forming a thick dough. Rolled oats work best here because they provide texture and structure, while protein powder boosts your snack’s nutritional power. If your mixture feels dry or crumbly, don’t panic — this is a normal part of the Step by Step process. Simply add a teaspoon of milk or water and keep stirring until it holds together nicely. (Need tips on choosing the right protein powder? You might enjoy our High-Protein Banana Bread Baked Oatmeal, which uses plant-based protein for a similar texture.)
Step 4: Add the Fun Mix-ins
Now it’s time for the flavor bomb — mini chocolate chips! Gently fold them into your mixture so they’re evenly distributed. Each bite should have a tiny bit of chocolate goodness without overpowering the peanut butter flavor. If your dough feels too sticky to roll, pop the bowl in the refrigerator for about 10 minutes. This quick chill firms the mixture slightly, making it easier to handle. For a fun variation, try adding chia seeds, shredded coconut, or a dash of cinnamon. If you love creative, customizable snacks, check out our Protein Brownie Bites for more ideas.
Step 5: Roll into Perfect Bites
Now comes the hands-on part of your Step by Step journey — literally. Using a small cookie scoop or spoon, measure about one tablespoon of dough per ball. Roll the dough between your palms until it’s smooth and round. If the mixture sticks to your hands, lightly coat them with a touch of cooking spray or water. Place each rolled ball onto your parchment-lined baking sheet. This step is oddly satisfying — it’s like edible therapy. Plus, it’s a great activity for kids or anyone looking for a quick kitchen win.
Step 6: Chill to Set
Once you’ve rolled all your protein balls, slide the tray into the refrigerator for about 30 minutes. This Step by Step cooling phase helps the flavors meld and gives each bite its firm, chewy consistency. You’ll notice the peanut butter sets slightly while the oats absorb some of the moisture, creating that perfect balance between soft and stable. If you’re making these ahead of time, you can even chill them overnight — they’ll taste even better the next day.
Step 7: Store and Snack Smart
After chilling, transfer your Best No-Bake Protein Balls into an airtight container. They’ll stay fresh in the fridge for up to a week — though, let’s be honest, they rarely last that long. For longer storage, freeze them in a resealable bag for up to two months. They thaw beautifully in just a few minutes at room temperature, making them an ideal grab-and-go snack. For busy mornings, try pairing a couple of these with a smoothie or a High-Protein Honey Garlic Butter Chicken lunch later in the day — it’s all about smart, balanced energy.
Step 8: Customize Your Way
The beauty of these Best No-Bake Protein Balls lies in their flexibility. Want to make them vegan? Swap honey for maple syrup and use a plant-based protein powder. Need more crunch? Add crushed nuts or seeds. Prefer them a little sweeter? Drizzle with melted dark chocolate once chilled. You can even turn this Step by Step recipe into a family favorite by involving the kids — let them pick the mix-ins and name their “signature” flavor!
Step 9: Enjoy (and Maybe Share… Maybe)
Finally, the best part — taste-testing! Grab one, take a bite, and savor that chewy, chocolatey, peanut-buttery perfection. You’ll instantly understand why these are called the Best No-Bake Protein Balls. They’re rich without being heavy, sweet without being sugary, and satisfying without the guilt. Perfect for pre-workout snacks, afternoon pick-me-ups, or those late-night cravings.
If you loved this Step by Step guide, you might also enjoy our Greek Yogurt Cookie Dough — another quick, no-bake treat that hits the same sweet-meets-nutritious balance.
In short: The Step by Step method to make these protein balls is simple, adaptable, and ridiculously rewarding. You mix, roll, chill, and smile — that’s it. The hardest part? Not eating them all at once.
What to Serve with Best No-Bake Protein Balls
Pair these Best No-Bake Protein Balls with a smoothie, iced coffee, or a warm mug of tea for a balanced snack. They’re great pre- or post-workout, tucked into lunchboxes, or enjoyed as a late-night treat that doesn’t derail your goals. If you’re in the mood for a full protein-packed meal, check out our High-Protein Honey Garlic Butter Chicken or Protein Cookie Dough Chocolate Yogurt Cookies. Both pair beautifully with these little bites of joy.
Key Tips for Making Best No-Bake Protein Balls
- Use creamy, natural peanut butter for the best texture — thick, processed brands can make the dough too dry.
- If your dough won’t stick together, add a touch of milk or maple syrup.
- For extra flavor, toast your oats lightly before mixing.
- Chill before rolling for easier shaping.
- Store in the fridge for longer freshness.
Storage and Reheating Tips for Best No-Bake Protein Balls
Store your Best No-Bake Protein Balls in an airtight container in the fridge for up to seven days. For longer storage, freeze them in a resealable bag — they thaw perfectly in minutes. No reheating needed, though if you prefer a gooey texture, let them sit at room temperature for five minutes before eating. They’re ideal for meal prep and busy weeks when you need quick, healthy snacks.
FAQs
Can I make these vegan?
Absolutely! Swap honey for maple syrup or agave, and choose a plant-based protein powder.
Can I use almond butter instead of peanut butter?
Yes, almond or cashew butter works beautifully.
Do I need to refrigerate them?
Yes — it keeps them firm and fresh.
Can I skip the protein powder?
You can, though the texture may be softer. Add extra oats to balance it out.
Final Thoughts
The Best No-Bake Protein Balls prove that snacking smart doesn’t mean sacrificing flavor. These peanut buttery bites are everything you want in a healthy treat — simple, satisfying, and surprisingly indulgent. Once you try them, you’ll understand why they’re a staple in every busy kitchen.
Follow us on Pinterest for weekly slow cooker inspiration, or join the conversation over on our Facebook page where fellow food lovers share their favorite comfort meal.
Print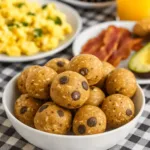
Best No-Bake Protein Balls: Easy, Healthy, and Totally Addictive
- Prep Time: 10 minutes
- Cook Time: 0 minutes
- Total Time: 40 minutes
- Yield: 12 balls
- Category: Snacks & Appetizers
- Method: No-Cook
- Cuisine: American
Description
These protein balls are bite-sized energy treats made from pantry staples, delivering satisfaction and nutrition without baking.
Ingredients
Wet Ingredients:
- 1 cup no-stir creamy peanut butter (natural, without added oils)
- 1/3 cup honey (or maple syrup/agave for vegan option)
Dry Ingredients:
- 1 cup old-fashioned oats
- 1/2 cup vanilla protein powder (sifted)
- 1 pinch salt (sea salt or kosher salt)
Mix-ins:
- 1/2 cup mini chocolate chips (dark chocolate for a healthier twist)
Instructions
1. In a large bowl, stir together the peanut butter and honey until fully combined. Warm the honey slightly if it’s too thick.
2. Fold in the oats, protein powder, and salt. Stir until a thick dough forms.
3. Gently mix in the mini chocolate chips. Refrigerate if the dough feels too sticky.
4. Scoop 1-tablespoon portions and roll into smooth balls.
5. Arrange the balls on a parchment-lined tray and refrigerate for 30 minutes.
6. Transfer to an airtight container. They’ll keep in the fridge for up to a week.
Notes
If the mixture crumbles, knead in 1 tsp of milk or water. For a plant-based version, use pea or brown rice protein powder. Customize with chopped nuts, dried fruit, or seeds for extra texture and flavor.