Easy Homemade Pupusas are one of those comforting dishes that make your kitchen smell like pure love. There’s something so satisfying about pressing warm masa dough in your hands and knowing it’s about to turn into golden, cheesy perfection. If you’ve never made pupusas before, don’t worry—they’re surprisingly simple once you get the hang of it.
Whether you’re feeding a hungry family or just craving something cozy on a chilly evening, this Easy Homemade Pupusas recipe hits all the right notes: crispy edges, gooey filling, and that nostalgic, earthy corn flavor that’s hard to beat. The best part? You only need a few pantry staples, and it all comes together in under an hour. Let’s be honest, any dish that’s naturally gluten-free and still makes everyone at the table happy deserves a permanent spot in your rotation.
Table of Contents
What is Easy Homemade Pupusas?
Easy Homemade Pupusas are a traditional Salvadoran street food that has found fans all over the world. Think of them as the Latin American cousin of a stuffed tortilla—except these are thicker, heartier, and filled with melted cheese and beans that ooze out just a little when you bite in. The word “pupusa” might sound playful, but these little corn pockets are serious comfort food. Typically made with masa harina (a type of corn flour used in tortillas and tamales), they’re cooked on a hot griddle until golden brown. The result? A crispy exterior with a soft, warm center.
Traditionally, they’re served with curtido (a lightly fermented cabbage slaw) and tomato salsa. In El Salvador, pupusas are more than just food—they’re culture, connection, and celebration rolled into one. But don’t worry, you don’t need to travel far to taste that same homemade goodness right from your own kitchen.
Reasons to Try Easy Homemade Pupusas
Why should you make Easy Homemade Pupusas? Let me count the ways. First, they’re budget-friendly—made mostly from pantry staples like masa harina, beans, and cheese. Second, they’re versatile. You can fill them with cheese, beans, meats, or even veggies—basically whatever your heart (and fridge) desires. Third, they’re a fun, hands-on meal that even kids can help shape and flatten, making it a perfect family cooking project. Plus, they’re naturally gluten-free, vegetarian-friendly, and pair beautifully with just about anything—from soups to fresh salads.
If you’re looking for a break from your usual weeknight dinners, these pupusas bring something new and exciting to the table. And let’s face it—there’s something deeply satisfying about biting into that crispy, golden shell and tasting the gooey, melty filling inside. Need more cozy ideas for dinner? Check out my Crispy Smashed Carrot Bites or Creamy Tuscan Marry Me Butter Beans for more feel-good comfort.
Ingredients Needed to Make Easy Homemade Pupusas
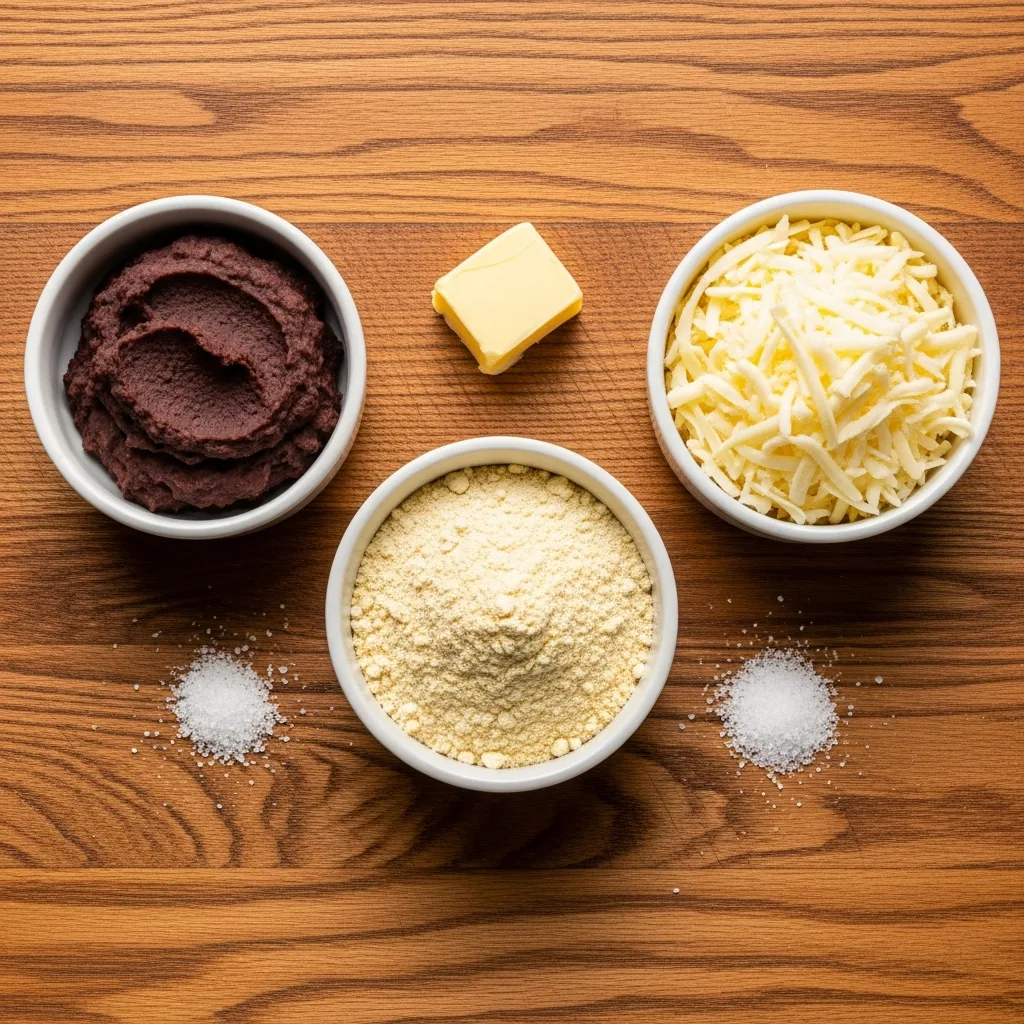
- 2 cups masa harina
- 1 teaspoon chicken bouillon (optional)
- ½ teaspoon salt
- 1½ to 2 cups hot water
- 2 tablespoons butter or lard
- Oil for cooking
- 1 cup shredded cheese
- 1 cup refried beans (optional)
Instructions to Make Easy Homemade Pupusas
Making Easy Homemade Pupusas is easier than it looks, and following this step-by-step guide will guarantee delicious results—even if it’s your first time. Grab your apron and let’s turn a handful of simple ingredients into a Salvadoran classic that tastes like a warm hug.
Step 1: Mix the Masa Dough (Step by Step)
In a large mixing bowl, combine masa harina, a touch of chicken bouillon (if you’d like a bit of savory depth), and salt. Slowly pour in about 1½ cups of hot water while mixing with your hands or a spoon. You’re aiming for a soft, pliable dough that feels like play-dough—moist but not sticky. If it crumbles, add a tablespoon of hot water at a time. If it’s too wet, sprinkle in a little more masa harina. Once you’ve got that smooth texture, mix in butter or lard for richness.
This is the foundation of your pupusas, so take your time getting the dough just right. If you’re new to working with masa, you can check out my Baked Smashed Potatoes with Garlic post, where I share similar tips for achieving perfect texture with simple ingredients.
Step 2: Shape and Fill the Pupusas (Step by Step)
Now comes the fun part—shaping! Divide your dough into 12 equal balls, roughly the size of golf balls. Keep them covered with a damp cloth while you work so they don’t dry out. Take one ball, flatten it slightly in your palm, and create a small pocket in the center with your thumb. Add a spoonful of shredded cheese and a small scoop of refried beans (if using).
Gently close the dough around the filling, pinching the edges together, then flatten it again into a thick disk about 3 inches wide. The filling should stay tucked inside, but if a little cheese peeks out, that’s okay—it’ll just make a lovely crispy spot later. For extra flair, try adding a touch of spice by using the refried beans from my Creamy Tuscan Marry Me Butter Beans recipe as inspiration.
Step 3: Cook to Crispy, Golden Perfection (Step by Step)
Heat a griddle or nonstick skillet over medium heat and lightly coat it with oil. Once hot, gently place the pupusas on the surface—don’t overcrowd them. Let each one cook for about 3 minutes per side. The goal here is that beautiful golden crust with a few toasted brown spots. When you flip them, use a flat spatula and be gentle to keep that delicious filling intact. You’ll know they’re done when the outside feels crisp and the center feels soft and bouncy. The smell alone will tell you you’re on the right track. If you love that sizzling, golden finish, you might also enjoy the crispy texture in my Crispy Smashed Carrot Bites.
Step 4: Serve and Savor Every Bite (Step by Step)
Transfer the cooked pupusas to a plate and cover them lightly with a clean towel to keep them warm while you finish the rest. Serve them right away with curtido—a tangy Salvadoran slaw made with cabbage, carrots, and vinegar—and a side of salsa roja or your favorite hot sauce. The contrast of the crunchy slaw and the soft, cheesy pupusa is pure perfection. If you’re planning a full meal, these go beautifully with something light and fresh like my Fall Harvest Salad or even a cozy soup from my Easy One-Pot Creamy Vegetable Soup recipe collection.
Step 5: Clean Up and Store (Step by Step)
Once you’ve cooked all your pupusas, wipe down your griddle while it’s still warm to make cleanup a breeze. If you have leftovers (rare, but possible!), let them cool completely before storing in an airtight container. They’ll keep in the fridge for up to 3 days or in the freezer for 2 months. When you’re ready to reheat, simply place them on a hot skillet for a few minutes on each side. They’ll crisp right back up—almost as if they were freshly made. For more practical kitchen tips like this, check out my Parmesan Herb Roasted Acorn Squash recipe, where I share simple tricks for reheating and storing dishes while keeping them flavorful and fresh.
What to Serve with Easy Homemade Pupusas
Easy Homemade Pupusas pair beautifully with tangy curtido—basically a quick pickled cabbage slaw that cuts through the richness of the cheese. Add a simple tomato salsa for brightness and a pop of color. For a full meal, serve them alongside a fresh Fall Harvest Salad or a bowl of Baked Smashed Potatoes with Garlic. If you want to keep it traditional, try them with Salvadoran crema or avocado slices on the side. And if you’re in the mood for something cozy, a cup of hot cocoa or horchata makes a surprisingly delightful companion to these warm, savory treats.
Key Tips for Making Easy Homemade Pupusas
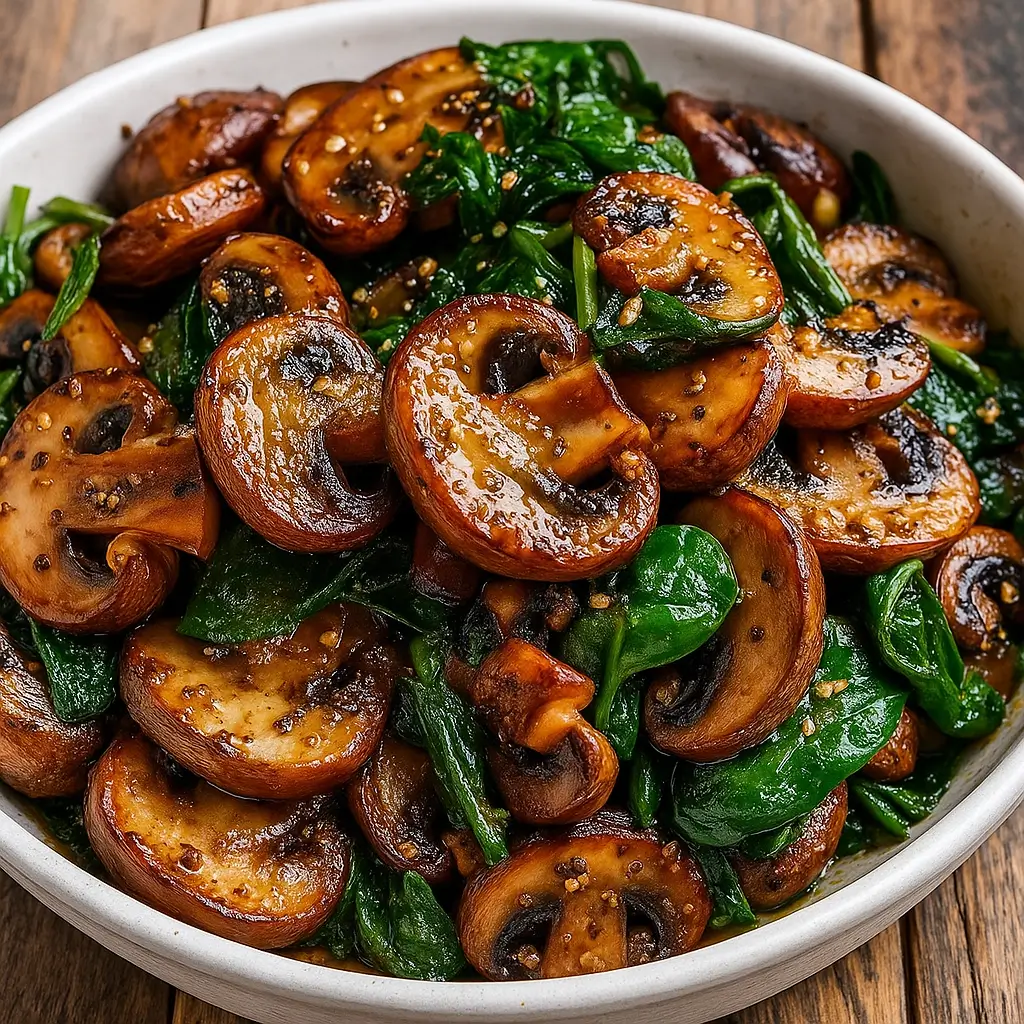
The secret to perfect Easy Homemade Pupusas is moisture control. Keep your hands damp while working with the dough to prevent sticking. If the dough cracks, add a tablespoon of water at a time until it smooths out. When cooking, wait until the first side forms a light crust before flipping—it’ll help keep the filling from leaking out. And remember, pupusas taste best fresh off the griddle, so make and cook them right away. Want to mix things up? Try filling them with sautéed spinach, mushrooms, or even spicy jalapeños for a flavorful twist. Don’t skip the cheese—it’s what gives that signature stretch with every bite.
Storage and Reheating Tips for Easy Homemade Pupusas
If you somehow manage to have leftovers (rare, but possible), let them cool completely before storing. Keep your Easy Homemade Pupusas in an airtight container in the fridge for up to 3 days. To reheat, warm them on a skillet over medium heat for 2–3 minutes per side until crispy again. Avoid the microwave—it tends to make them soggy. You can also freeze cooked pupusas by separating each one with parchment paper and storing them in a freezer bag for up to 2 months. To reheat from frozen, just place them directly on a hot skillet. They’ll taste almost as fresh as the day you made them.
FAQs
Can I use all-purpose flour instead of masa harina?
No, masa harina is what gives pupusas their authentic texture and flavor.
Can I make the dough ahead of time?
Yes, just store it covered in the fridge for up to 24 hours. Let it come to room temp before shaping.
Can I make them vegan?
Absolutely! Swap butter for oil and use vegan cheese.
Why are my pupusas cracking?
Your dough might be too dry—add a splash of warm water and knead until smooth.
Final Thoughts
Easy Homemade Pupusas are proof that comfort food doesn’t have to be complicated. With just a few ingredients and some love, you can whip up a batch that’ll transport you straight to El Salvador. Crispy outside, cheesy inside—what’s not to love? Whether you serve them as a snack, side dish, or full meal, they’re guaranteed to bring warmth (and maybe a little happy dance) to your table. Looking for more recipes that make home cooking joyful and satisfying? Head over to Nourish Well Recipes for more wholesome favorites.
Follow us on Pinterest for weekly slow cooker inspiration, or join the conversation over on our Facebook page where fellow food lovers share their favorite comfort meal.
Print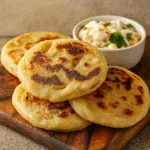
Easy Homemade Pupusas Recipe: Simple, Cheesy, and Gluten-Free
- Prep Time: 20 min
- Cook Time: 30 min
- Total Time: 50 min
- Yield: 6 servings (12 pupusas)
- Category: Side Dishes
- Method: Griddle
- Cuisine: Salvadoran
Description
Traditional Salvadoran stuffed corn tortillas filled with cheese and beans, cooked until golden on a griddle.
Ingredients
- 2 cups masa harina.
- 1 teaspoon chicken bouillon (optional).
- 1/2 teaspoon salt.
- 1 1/2 to 2 cups hot water.
- 2 tablespoons butter or lard.
- Oil for cooking.
- 1 cup shredded cheese.
- 1 cup refried beans (optional).
Instructions
1. Combine masa harina, bouillon, and salt. Add hot water slowly until dough feels like play-dough. Mix in soft butter.
2. Split dough into 12 golf-ball sized pieces. Keep covered with damp cloth.
3. Flatten each ball, add cheese and beans in center. Fold edges over and flatten to 3-inch disk.
4. Heat griddle with oil. Cook pupusas 3 minutes each side until golden.
Notes
Keep hands wet while working.
Wait for crust before flipping.
Make and cook right away.