Salted Caramel Protein Balls are the kind of snack that makes you feel like you’re cheating… but you’re not. They’re rich, chewy, and naturally sweetened with dates—no refined sugar crash in sight. Perfect for busy days, post-gym hunger pangs, or that late-afternoon “help, I need chocolate but shouldn’t” craving.
These little bites pack plant-based protein, healthy fats, and a flavor that hits all the right notes: salty, sweet, and just a little indulgent. If you’ve got ten minutes, you can have a batch ready. And if your week is shaping up to be chaotic (whose isn’t?), these Salted Caramel Protein Balls are the snack-time sanity-saver you didn’t know you needed.
Table of Contents
What is Salted Caramel Protein Balls?
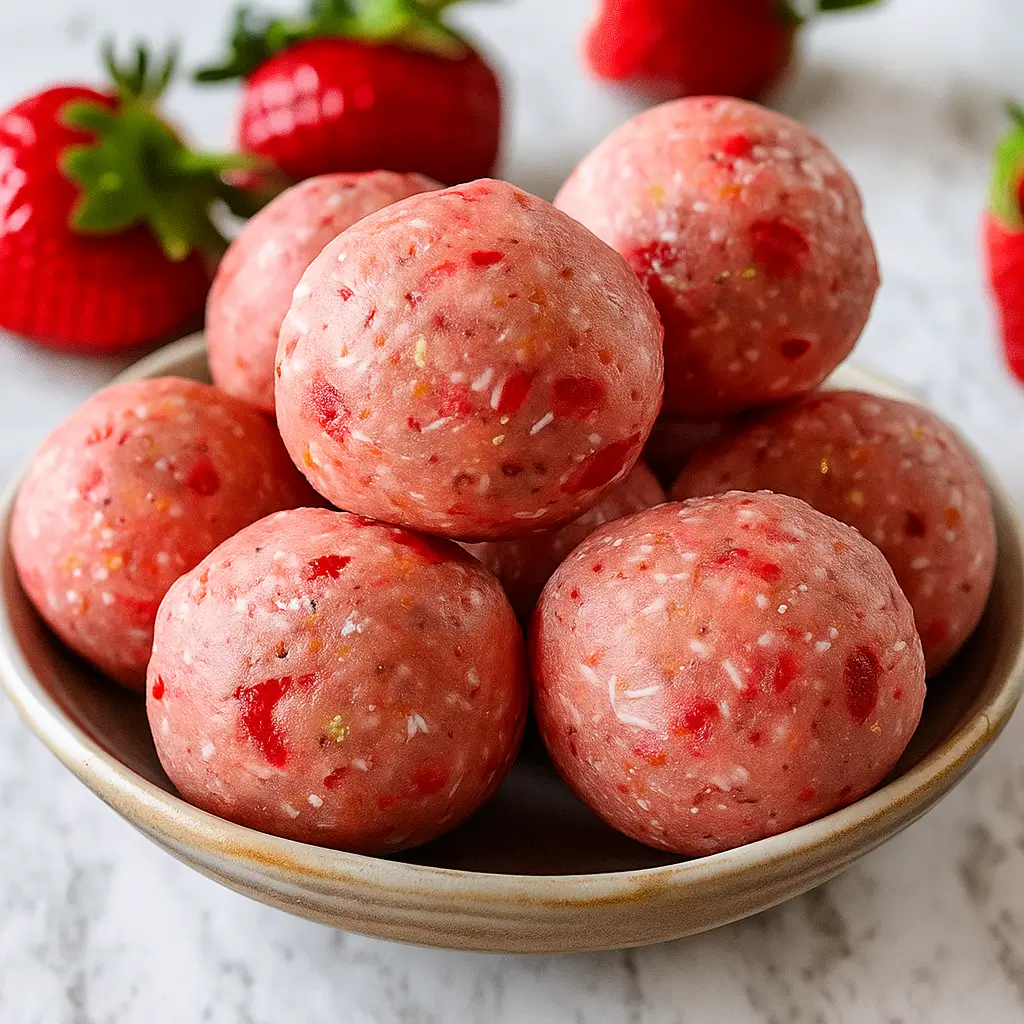
Salted Caramel Protein Balls are bite-sized energy snacks that combine nuts, protein powder, and dates to create a naturally sweet, salty, and satisfying treat. Think of them as dessert meets nutrition bar—minus the added sugar and processed junk.
Each bite is soft, chewy, and full of nutty caramel flavor that comes from the magical blend of cashews, vanilla, and a hint of sea salt. They’re vegan, gluten-free, and easily customizable with different protein powders or nut butters. Whether you grab one before a workout, tuck a few in your bag for work, or keep a stash in the fridge for late-night cravings, these Salted Caramel Protein Balls hit that sweet spot (literally and figuratively) between healthy and delicious.
Reasons to Try Salted Caramel Protein Balls
There’s a lot to love about these Salted Caramel Protein Balls. First, they’re incredibly easy—no baking, no mess, and no complicated ingredients. You toss everything into a food processor, roll, and chill. Done. They’re also a great way to sneak in protein and fiber without it feeling like you’re eating something “healthy.”
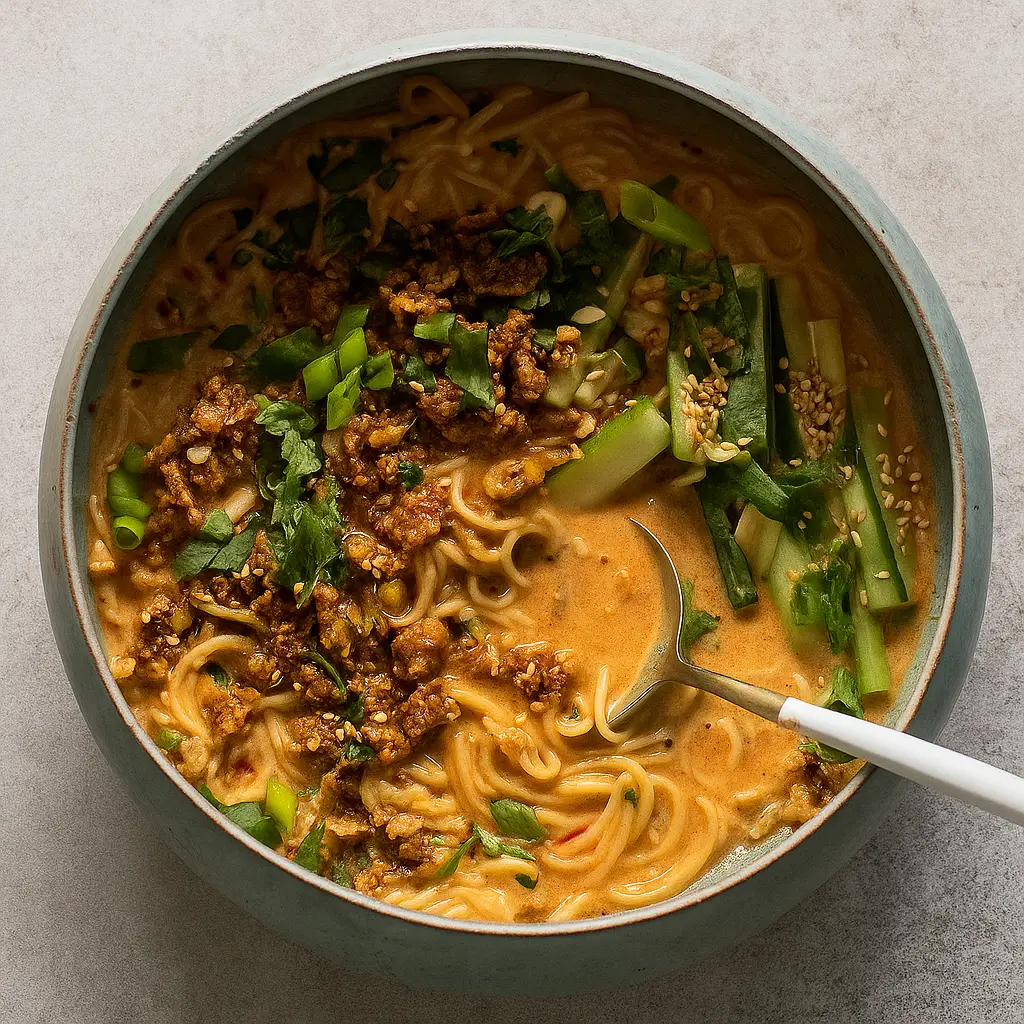
Plus, the combination of dates and cashews gives a caramel flavor that feels totally indulgent. And if you’re the type who gets hangry mid-afternoon, these bites are your best friend. Each one has just enough natural sweetness and healthy fats to keep you full and focused. Honestly, they’re perfect for anyone trying to snack smarter without sacrificing taste. For more quick, nourishing recipes like this, check out my Miso Peanut Ramen Bowls—they’re another deliciously balanced option that fits into a busy lifestyle.
Ingredients Needed to Make Salted Caramel Protein Balls
- 1 cup raw or roasted unsalted cashews
- 1 cup pitted Medjool dates (about 8 dates)
- 1/2 cup unsweetened coconut flakes
- 1/2 cup vanilla protein powder (any type: whey, pea, soy, hemp, etc.)
- 2 tablespoons seeds (chia, hemp, or ground flaxseed)
- 2 tablespoons peanut butter
- 3 tablespoons vanilla almond milk or water
- 1/4 teaspoon sea salt
- 1 teaspoon cinnamon
Instructions to Make Salted Caramel Protein Balls – Step by Step
Making these Salted Caramel Protein Balls is a total breeze — and dare I say, kind of therapeutic. No oven, no stovetop, and no fancy equipment needed (just a food processor or blender). Here’s a complete Step by Step guide to help you nail that perfect chewy, caramel-like texture every time.
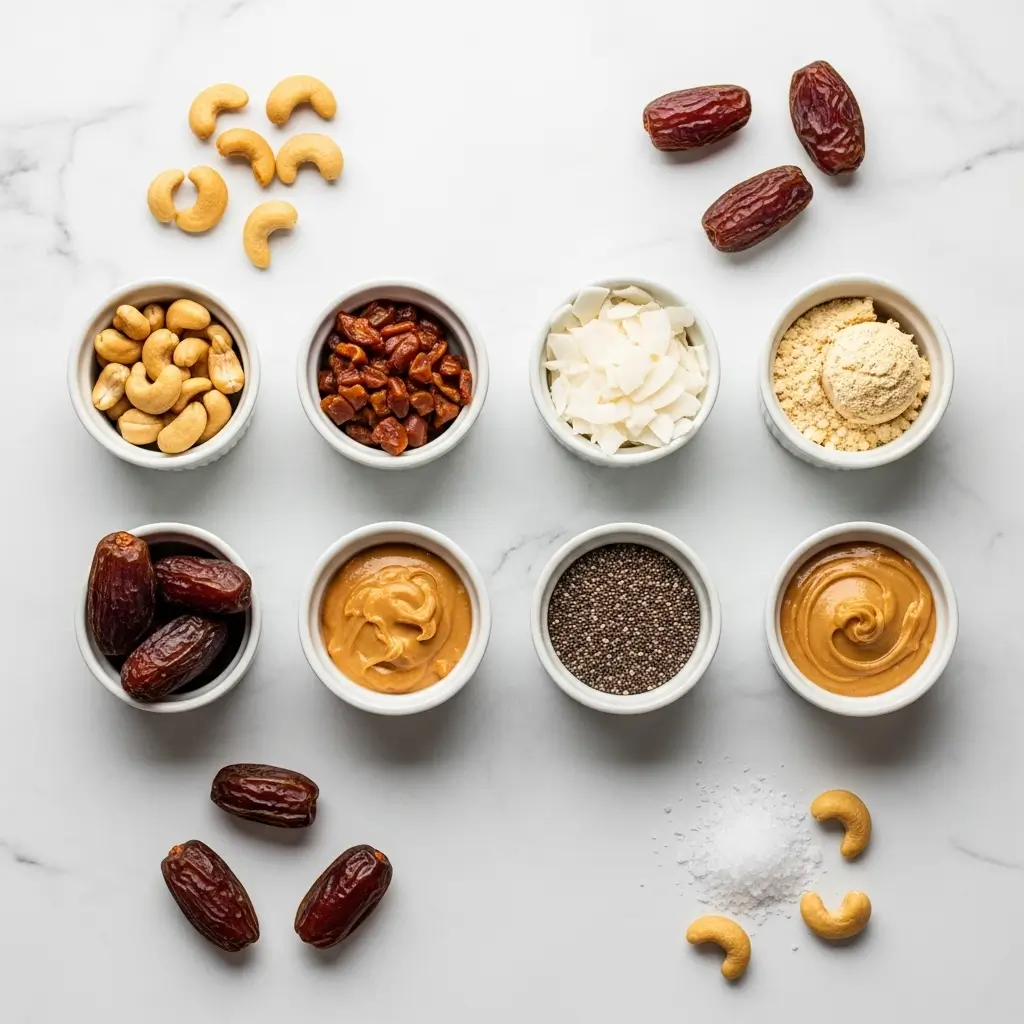
Step 1: Gather and Prep Your Ingredients
Before you even plug in your food processor, take a minute to line up your ingredients. It might sound simple, but having everything measured and ready makes this Step by Step process faster and smoother. You’ll need raw or roasted cashews (unsalted is key for flavor balance), soft Medjool dates (they’re what give the “caramel” flavor), unsweetened coconut flakes, vanilla protein powder, peanut butter, seeds, sea salt, cinnamon, and almond milk or water.
If your dates feel a little hard or dry, don’t panic. Just soak them in warm water for about 10 minutes. It softens them up beautifully and helps your mixture blend more evenly. You can check out my Homemade Chickpea Potato Soup article for a few prep tricks I use when working with plant-based ingredients — it’s full of helpful kitchen shortcuts.
Step 2: Blend Cashews and Dates Until Crumbly
Now, add your cashews and pitted Medjool dates to the food processor. Pulse several times until the mixture turns into a crumbly, sticky texture — like coarse sand that clumps when pressed. This first Step by Step stage is crucial because it builds the base of your Salted Caramel Protein Balls. The cashews bring that buttery richness, while the dates provide the sweet caramel flavor that ties everything together.
If the mixture is sticking to the sides, stop and scrape down with a spatula. You don’t want any chunks hiding at the bottom. Pro tip: If you’re using a high-speed blender instead of a food processor, pulse in short bursts to prevent overheating. It’s all about control here — we’re blending, not pureeing.
Step 3: Add the Remaining Ingredients for Flavor and Nutrition
Here’s where the magic happens. Add your coconut flakes, vanilla protein powder, chia (or hemp) seeds, peanut butter, cinnamon, a pinch of sea salt, and a splash of almond milk or water. Blend again, this time for about 1 to 2 minutes. You’ll see the mixture transform into a thick, sticky dough that smells like a mix between cookie dough and caramel candy.
If the dough feels too dry or crumbly, add another tablespoon of liquid. You’re aiming for a texture that easily holds together when pressed between your fingers. Don’t be afraid to taste-test here — the joy of making Salted Caramel Protein Balls Step by Step is that you can adjust flavor as you go. Need more sweetness? Toss in one more date. Want more saltiness? Sprinkle in a touch more sea salt.
If you love experimenting with flavor, check out my Miso Peanut Ramen Bowls for a deeper dive into balancing sweet and salty profiles — it’s one of those recipes where every bite feels exciting.
Step 4: Shape Your Salted Caramel Protein Balls
Once your dough looks cohesive and sticks together nicely, it’s time to roll. Scoop out about a tablespoon of the mixture at a time and roll it between your palms into smooth, 1-inch balls. If the mixture starts sticking to your hands (which it likely will), lightly oil your palms or chill the mixture for 5–10 minutes before continuing.
This Step by Step shaping process can actually be fun to do with kids or while binge-watching your favorite show. Try to keep the sizes consistent so they store and chill evenly later. Place each finished ball on a baking sheet or plate lined with parchment paper. Feeling fancy? Roll a few in shredded coconut, chia seeds, or even a sprinkle of flaky sea salt for that irresistible “Instagram-worthy” finish.
Step 5: Chill and Set for the Perfect Texture
Next, slide your tray into the refrigerator and let your Salted Caramel Protein Balls chill for at least 15–20 minutes. This short rest time allows the ingredients to firm up, making them easier to handle and giving that ideal chewy texture. For a firmer, more fudge-like texture, pop them in the freezer for 30 minutes instead.
You can even store them there long-term — they’ll last up to three months. Just let them thaw for a few minutes before eating. If you’re into make-ahead meals, you’ll love my Crockpot Cheesy Chicken Broccoli Soup; it’s another lifesaver for busy days when you need healthy, ready-to-go options.
Step 6: Store and Enjoy Anytime
Transfer the chilled balls into an airtight container. They’ll stay fresh in the fridge for about a week. I like to keep mine in a glass jar because they just look prettier that way (and honestly, seeing them reminds me to grab one instead of chips). If you’re freezing them, separate layers with parchment paper to prevent sticking.
When it’s snack time, grab one or two for a quick energy boost. They’re perfect before workouts, during long meetings, or as a satisfying after-dinner treat. This final Step by Step stage is all about convenience — a healthy, sweet bite that’s ready whenever you are.
Bonus Tip: Make It Yours
What I love most about this recipe is its flexibility. You can swap peanut butter for almond or cashew butter, or use a chocolate protein powder for a salted caramel mocha vibe. If you’re sensitive to nuts, sunflower seed butter works perfectly too. I’ve even added mini dark chocolate chips once for a dessert-like twist — zero regrets.
For more creative healthy snack ideas, browse my Easy Vegan Ramen Noodle Soup post. It’s another reader favorite that’s nourishing, quick, and designed for real life.
What to Serve with Salted Caramel Protein Balls
Salted Caramel Protein Balls are amazing on their own, but they also play well with others. Try pairing them with a smoothie for a post-workout meal, or alongside your morning coffee for a quick breakfast bite. If you want something savory to balance the sweetness, they go perfectly with light soups like this Homemade Chickpea Potato Soup. For dessert lovers, serve these with a drizzle of melted dark chocolate or crumble them into a yogurt parfait. However you enjoy them, they bring that cozy, café-style treat vibe without the guilt.
Key Tips for Making Salted Caramel Protein Balls
Use soft Medjool dates—they’re key for that caramel flavor and smooth texture. If your dates are hard, soak them before blending. Choose a protein powder you actually like; its flavor really shines through here. Don’t skip the pinch of sea salt—it’s what makes the “salted caramel” magic happen. If the mixture is too crumbly, add a touch more almond milk until it sticks. For extra protein, toss in a spoonful of collagen or hemp seeds. And here’s a pro tip: refrigerate the dough before rolling—it makes the process cleaner and faster.
Storage and Reheating Tips for Salted Caramel Protein Balls
These bites are the definition of low-maintenance. Store them in an airtight container in the fridge for up to a week, or freeze for up to three months. To thaw, just leave them out for 10 minutes or pop one in your lunch bag in the morning—it’ll be perfect by snack time. Avoid microwaving, as that can make them oily. Instead, let them soften naturally. You can also keep a few in a glass jar on the counter for a day or two if your kitchen isn’t too warm—they’ll hold their shape beautifully.
FAQs
Can I use a different nut? Absolutely. Almonds or peanuts work great, though cashews give the best caramel flavor.
What if I don’t have protein powder? You can substitute with extra coconut flakes or oats.
Are these safe for kids? Yes! They’re naturally sweetened, nutty, and nutrient-dense—kids love them.
Can I make them nut-free? Try using sunflower seed butter and pumpkin seeds instead of nuts.
How can I make them extra indulgent? Roll them in crushed pretzels or dip half in melted dark chocolate for a sweet-and-salty upgrade.
Final Thoughts
Salted Caramel Protein Balls are proof that healthy snacks don’t have to be boring or complicated. They’re quick, satisfying, and taste like dessert, but they’re packed with good-for-you ingredients that keep you going. Whether you’re meal prepping for the week or just need something sweet after dinner, these little bites are a must-try. So next time your energy dips, skip the vending machine and grab one of these instead—your taste buds and your body will thank you.
Follow us on Pinterest for weekly slow cooker inspiration, or join the conversation over on our Facebook page where fellow food lovers share their favorite comfort meal.
Print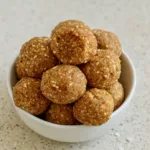
Salted Caramel Protein Balls – A Simple No-Bake Energy Snack
- Prep Time: 10 minutes
- Cook Time: 0 minutes
- Total Time: 10 minutes
- Yield: 18 – 1 inch bites
- Category: Snack
- Method: No-Bake
- Cuisine: American
Description
Salted caramel protein energy bites make the perfect energizing pick me up. They are naturally gluten-free, vegan, and have no added sugars!
Ingredients
- 1 cup raw or roasted cashews, unsalted
- 1 cup pitted Medjool dates, about 8 dates
- 1/2 cup unsweetened coconut flakes
- 1/2 cup vanilla protein powder of your choice (whey, pea, soy, rice, hemp, egg white, casein, collagen, brown rice, etc)
- 2 tablespoons seeds of your choice (hemp seeds, chia seeds, or ground flax seed)
- 2 tablespoons peanut butter
- 3 tablespoons vanilla almond milk or water
- 1/4 teaspoon sea salt
- 1 teaspoon cinnamon
Instructions
1. In a food processor or Vitamix, blend cashews and dates until mostly broken down into a crumbly consistency.
2. Add the rest of the ingredients and blend until mostly smooth, about 1–2 minutes.
3. Roll into 1-inch bites. Store in the fridge for up to 1 week or freezer for up to 3 months.
Notes
I often like to make a double batch of these energy bites to freeze. Then, I will take them out a few at a time to thaw for a quick snack that’s already ready to go!