Hi there! I’m Jessica, and if you’re like me, your kitchen is basically a high-traffic laboratory where you’re constantly trying to find that perfect balance between “healthy” and “please, just eat your dinner” for the kids. Born and raised in Texas, I know a thing or two about bold flavors, and today I’m sharing a recipe that is a total lifesaver for busy weeknights. The Best Pepperoncini Chicken Skillet is one of those magical dishes that feels like a fancy restaurant meal but actually comes together in one pan while you’re probably juggling homework and a load of laundry. I first stumbled upon this tangy combination while researching ancient natural recipes that gently cleanse the body, and I was hooked by how the acidity of the peppers cuts through the richness of the cream. It’s a dish that brings energy and clarity to your evening without leaving you with a mountain of dishes. Let’s dive into how to make this Pepperoncini Chicken Skillet your new go-to favorite.
What is The Best Pepperoncini Chicken Skillet?
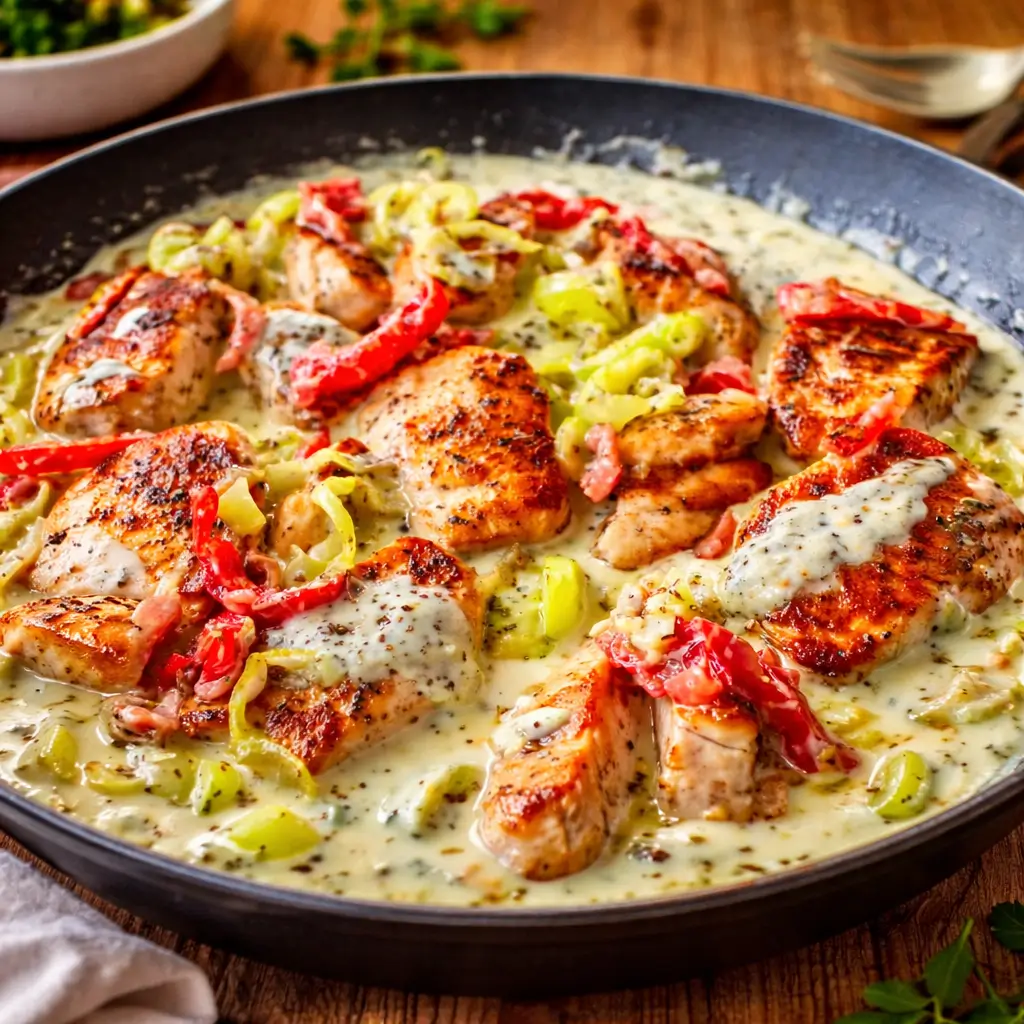
This dish is a vibrant, Mediterranean-inspired masterpiece that features tender chunks of chicken breast bathed in a silky, tangy cream sauce. The star of the show is the pickled pepperoncini pepper, which provides a mild heat and a delightful vinegary punch. Unlike heavy, traditional cream sauces that can leave you feeling sluggish, this skillet uses a blend of chicken broth, heavy cream, and the reserved juice from the pepper jar to create a light yet satisfying consistency. It’s a modern twist on classic comfort food, focusing on clean ingredients that nourish the body well. I love how the Italian seasoning and red pepper flakes add layers of warmth, making every bite feel like a warm hug. It’s essentially a “dump and stir” gourmet meal that transforms humble pantry staples into something truly extraordinary. Whether you serve it over a bed of greens or your favorite pasta, it’s a versatile powerhouse of flavor.
Reasons to Try The Best Pepperoncini Chicken Skillet
First off, if you’re dealing with picky eaters, the mildness of pepperoncini peppers is a total game-changer; they offer flavor without the “burn” of a jalapeño. Secondly, this recipe is a massive time-saver for anyone with a hectic schedule, taking less than 30 minutes from start to finish. I’m a huge advocate for food as a form of care, and this dish provides high-quality protein and fermented-style tang that supports digestion. It’s also incredibly budget-friendly, utilizing simple chicken breasts and jarred peppers that most of us already have in the back of the pantry. Plus, the one-skillet cleanup means more time for yoga in nature or curling up with a good book. It’s the kind of meal that makes you feel like a kitchen rockstar without the stress. You really can’t beat the combination of zesty acidity and smooth cream—it’s a culinary tapestry that appeals to both kids and adults alike.
Ingredients Needed to Make The Best Pepperoncini Chicken Skillet
- Chicken: 1.5 lbs boneless, skinless chicken breasts, cut into 1-inch cubes
- Pepperoncini Peppers: 1 (16 ounce) jar, drained (reserve 1/4 cup juice) and roughly chopped
- Onion: 1 medium yellow onion, chopped
- Garlic: 4 cloves garlic, minced
- Olive Oil: 2 tablespoons extra virgin olive oil
- Chicken Broth: 1/2 cup low-sodium chicken broth
- Heavy Cream: 1/2 cup heavy cream
- Italian Seasoning: 1 tablespoon Italian seasoning
- Red Pepper Flakes: 1/4 teaspoon (or more to taste)
- Salt & Black Pepper: To taste
- Fresh Parsley: 2 tablespoons chopped, for garnish
Instructions to Make The Best Pepperoncini Chicken Skillet – Step by Step
Step 1: Prep Your Chicken and Aromatics
First, grab your chicken breasts and pat them bone-dry with paper towels. I know it’s an extra step, but this ensures the chicken actually browns instead of just steaming in its own juices. Once dried, chop them into even 1-inch cubes and season them generously with salt and pepper. Don’t hold back here; seasoning the meat directly is the secret to a deep flavor profile. While you’re at it, chop your yellow onion and mince that garlic. I usually use a garlic press because, let’s be honest, who has time for fine dicing on a Tuesday? Drain your pepperoncini jar, but—this is vital—save a 1/4 cup of that golden juice for the sauce later. Roughly chop the peppers so they are small enough to distribute but big enough to give you a nice pop of texture. Following these initial prep tasks Step by Step makes the actual cooking process feel like a breeze.
Step 2: Sear the Chicken to Perfection
Get your large skillet nice and hot over medium-high heat with the olive oil. You want to hear that satisfying sizzle the moment the chicken hits the pan. Add your chicken cubes in a single layer, making sure not to crowd them. If your pan is too small, just do it in two batches—patience pays off in golden-brown deliciousness! Let the chicken cook for about 5-7 minutes until it’s browned on all sides and hits an internal temperature of 165°F. Once it’s done, move the chicken to a plate and set it aside. Do not wash the skillet! Those little brown bits stuck to the bottom are what chefs call “fond,” and they are pure flavor gold that we’re going to rescue in the next few steps of our Step by Step guide.
Step 3: Sauté the Veggies and De-glaze
Turn the heat down to medium and toss in your chopped onions. Sauté them for about 5 minutes until they become soft and translucent, soaking up all those leftover chicken juices. Next, add the minced garlic and stir it around for just 60 seconds. Be careful here; burnt garlic is the enemy of a happy kitchen! Now comes the fun part: pour in that reserved 1/4 cup of pepperoncini juice. Use a wooden spoon to scrape up all those delicious browned bits from the bottom of the pan. This process, which we are tackling Step by Step, creates a rich base for our sauce that you just can’t get from a jar.
Step 4: Build the Zesty Sauce
Now, it’s time to bring the heat and the tang. Add your chopped pepperoncini peppers, chicken broth, Italian seasoning, and red pepper flakes to the skillet. Stir everything together and let it come to a gentle simmer for about 5 minutes. This gives the peppers a chance to soften and their flavor to meld into the broth. You’ll notice the aroma starting to fill your kitchen—it’s absolutely intoxicating! Building the sauce Step by Step ensures that the spices have time to bloom, which is essential for that authentic, home-cooked feel I strive for at nourishwellrecipes.com.
Step 5: Add the Cream and Finish
Lower the heat and pour in the heavy cream, stirring continuously until the sauce turns a beautiful pale orange. Let it simmer for another 5 minutes on low heat until the sauce thickens slightly. Finally, slide your cooked chicken back into the skillet and toss it gently to ensure every single piece is draped in that velvety sauce. Give it a quick taste and add a pinch more salt or pepper if it needs it, though keep in mind the peppers are already quite salty. Top it off with fresh parsley for a burst of color, and you’ve completed the final phase of our Step by Step journey.
What to Serve with The Best Pepperoncini Chicken Skillet
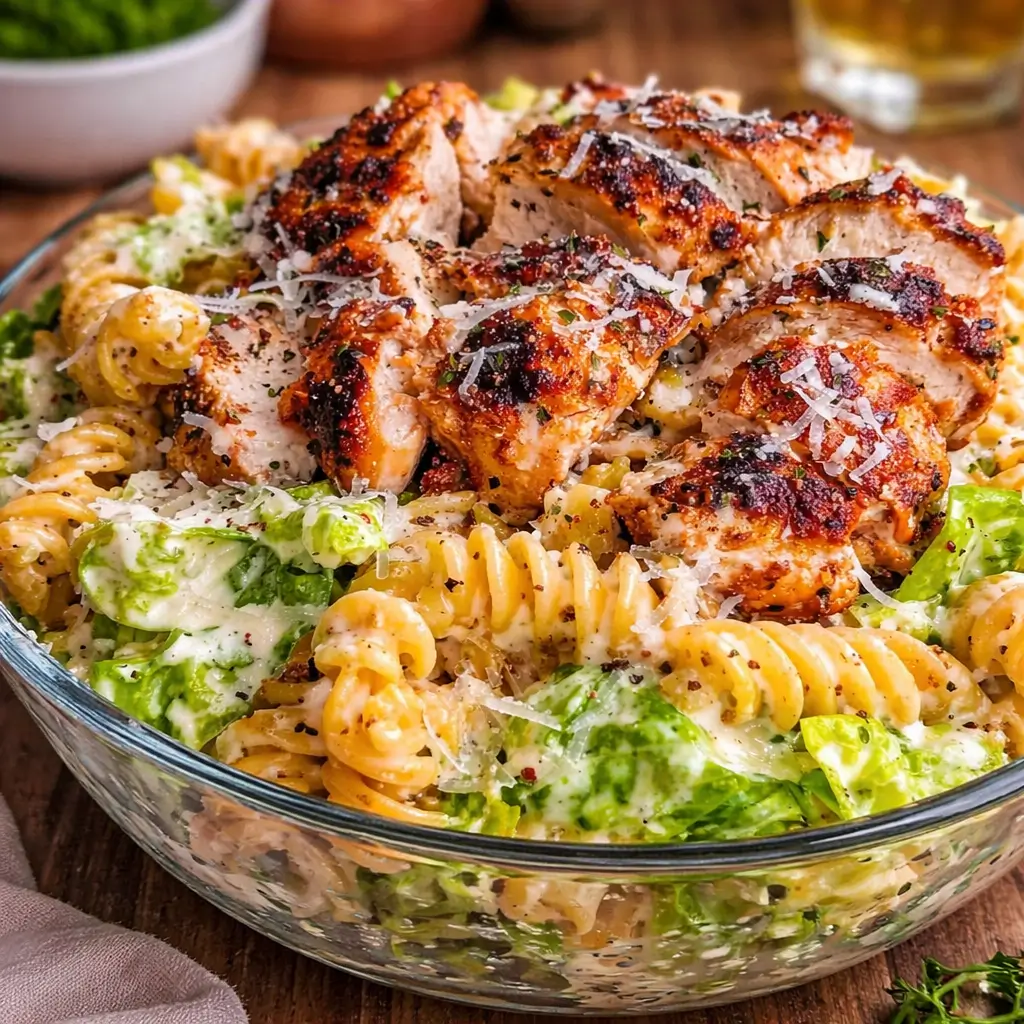
To make this a complete meal, I highly recommend serving the chicken over a bed of al dente penne or rotini pasta. The ridges in the pasta are perfect for catching and holding onto that luscious cream sauce. If you’re looking for a lighter, grain-free option, this skillet is equally fantastic over fluffy white rice or even cauliflower rice. To round things out, a simple side of roasted asparagus or a fresh green salad provides a nice crunch to contrast the creamy chicken. And don’t forget a piece of crusty sourdough bread! You’ll want something to soak up every last drop of that zesty sauce—trust me, you won’t want to waste a bit. It’s all about creating a balanced plate that feels both joyful and nourishing for your family.
Key Tips for Making The Best Pepperoncini Chicken Skillet
The absolute best tip I can give you is to use high-quality, low-sodium chicken broth. Since the pepperoncini peppers and their juice are already packed with salt from the pickling process, using a low-sodium broth prevents the dish from becoming a salt bomb. Also, if you want a thicker sauce without adding more cream, you can let the sauce simmer for an extra few minutes before adding the chicken back in. If you find the sauce is too thick, just splash in a little more broth to loosen it up. For those who love a bit of extra kick, feel free to double the red pepper flakes or toss in a few whole peppers for garnish. Cooking is an experimentation, so don’t be afraid to adjust the “tang factor” by adding more or less of that reserved juice!
Storage and Reheating Tips The Best Pepperoncini Chicken Skillet
If you’re lucky enough to have leftovers, this dish stores beautifully in an airtight container in the fridge for up to 3 days. When it’s time to reheat, I suggest doing it on the stove over low heat. Cream-based sauces can sometimes “break” or separate if they hit the high heat of a microwave too fast. Adding a tiny splash of milk or water while reheating will help bring that silky texture back to life. I wouldn’t recommend freezing this particular recipe, as the heavy cream can sometimes take on a grainy texture once thawed. It’s so quick to whip up, though, that you’re better off making it fresh whenever the craving hits! It’s the perfect lunch for the next day, and the flavors actually deepen as they sit.
FAQs
Can I use chicken thighs instead of breasts? Absolutely! Chicken thighs are actually more forgiving and stay very juicy. Just make sure they are boneless and skinless, and you might need to cook them for an extra minute or two to ensure they are fully done.
Is this dish very spicy? Not at all! Pepperoncini peppers are known for being mild. They provide more of a “zing” than a “sting.” If you’re worried about heat, you can remove the seeds from the peppers before chopping them.
What if I don’t have heavy cream? You can substitute with half-and-half or even full-fat coconut milk for a dairy-free twist, though the flavor profile will change slightly. If using a thinner milk, you might need a teaspoon of cornstarch mixed with water to help it thicken.
Final Thoughts
Making a The Best Pepperoncini Chicken Skillet is truly a testament to the idea that simple ingredients can create profound joy. It’s a dish born from a love of natural flavors and a need for practical, healthy solutions in a busy household. I hope this recipe brings a breath of fresh air to your kitchen and becomes a staple in your home just as it has in mine. Remember, food is a language of love—so take a breath, listen to what your body needs, and enjoy the process of nourishing yourself and your family. Let’s continue to cook with intention and heart, making every meal a celebration of wellness. I can’t wait to hear how your skillet turns out, so feel free to share your kitchen adventures with me. Let’s nourish well, together, one delicious The Best Pepperoncini Chicken Skillet at a time.
Print
The Best Pepperoncini Chicken Skillet: Amazing 30-Minute Zesty Dinner
- Prep Time: 15 minutes
- Cook Time: 20 minutes
- Total Time: 35 minutes
- Yield: 4 servings
- Category: Dinner
- Method: Stovetop
- Cuisine: American
Description
This creamy The Best pepperoncini chicken skillet features tender chicken simmered in a tangy, savory sauce with garlic, onions, and a hint of heat—perfect served over pasta or rice.
Ingredients
- 1.5 lbs boneless, skinless chicken breasts, cut into 1-inch cubes
- 1 (16 oz) jar pepperoncini peppers, drained (reserve 1/4 cup juice) and roughly chopped
- 1 medium yellow onion, chopped
- 4 cloves garlic, minced
- 2 tablespoons olive oil
- 1/2 cup low-sodium chicken broth
- 1/2 cup heavy cream
- 1 tablespoon Italian seasoning
- 1/4 teaspoon red pepper flakes (or to taste)
- 1/2 teaspoon salt (or to taste)
- 1/4 teaspoon black pepper (or to taste)
- 2 tablespoons fresh parsley, chopped
- Cooked pasta or rice, for serving (optional)
Instructions
1. Pat chicken dry and season with salt and pepper.
2. Heat olive oil in a large skillet over medium-high heat.
3. Add chicken in a single layer and cook for 5–7 minutes until browned and cooked through. Remove and set aside.
4. Reduce heat to medium and add chopped onion. Cook for about 5 minutes until softened.
5. Add minced garlic and cook for 1 minute until fragrant.
6. Pour in reserved pepperoncini juice and scrape up browned bits from the skillet.
7. Stir in chopped pepperoncini peppers, chicken broth, Italian seasoning, and red pepper flakes.
8. Bring to a simmer and cook for 5 minutes.
9. Add heavy cream, stir, and reduce heat to low. Simmer for another 5 minutes until slightly thickened.
10. Return chicken to the skillet and toss to coat in sauce.
11. Taste and adjust seasoning with salt and pepper.
12. Garnish with fresh parsley and serve hot over pasta or rice if desired.
Notes
Do not overcrowd the pan when searing chicken—cook in batches if needed.
Pepperoncini juice adds tangy depth, so don’t skip it.
Adjust spice level by increasing or reducing red pepper flakes.
Serve with crusty bread to soak up the sauce for an extra treat.