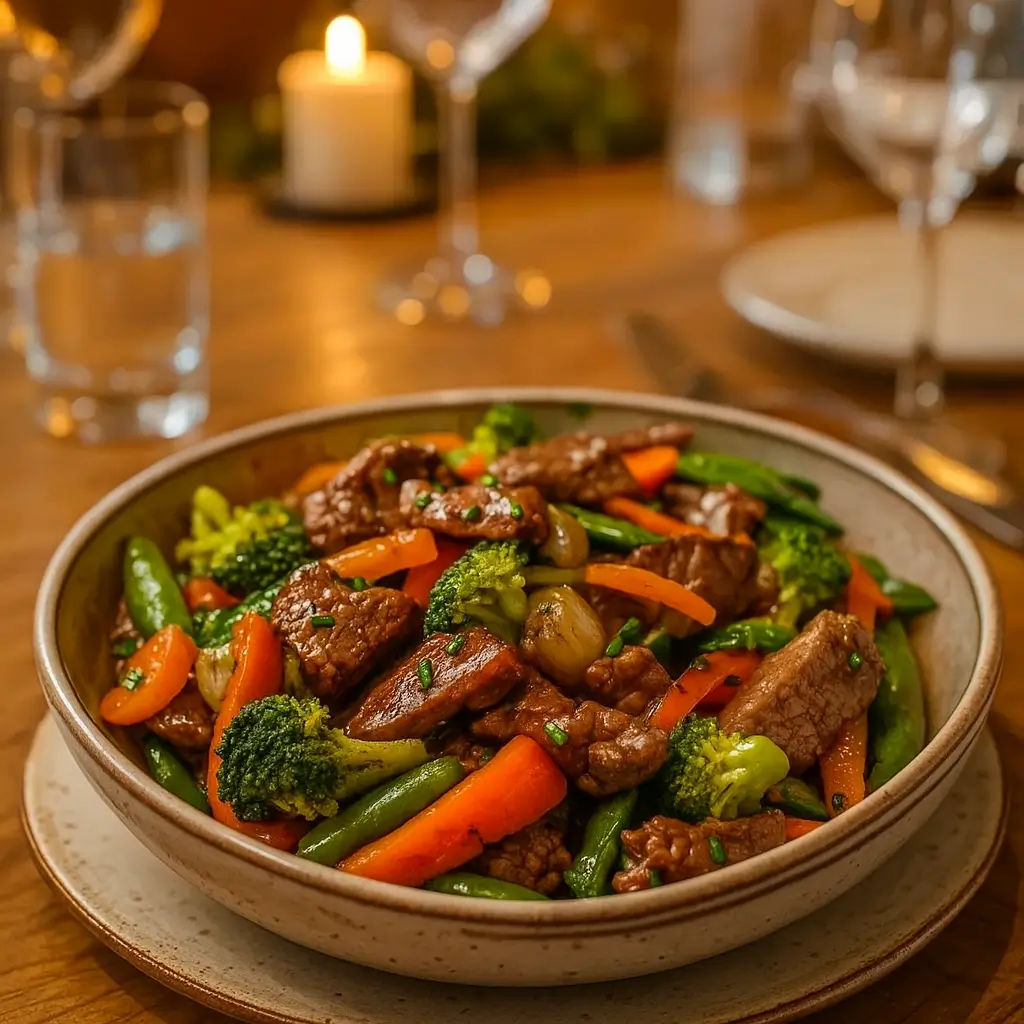
If your body’s been waving the “help me” flag after a week of takeout and too many coffee refills, this Anti-Inflammatory Harvest Glow Bowl might just be the reset button you need. Packed with roasted veggies, golden chickpeas, and a creamy tahini yogurt sauce, it’s both nourishing and seriously satisfying. Imagine the coziness of fall flavors wrapped in one bowl, with all the crunch, creaminess, and color your taste buds crave.
The best part? It’s simple enough for a weeknight dinner but feels like something you’d find in a café that plays indie music and serves green juice in mason jars. Whether you’re chasing that “healthy glow” or just trying to eat something that makes you feel good (without giving up flavor), this bowl delivers. Bonus: it’s meal-prep friendly, plant-powered, and kid-approved—or at least kid-tolerated, depending on your household.
Table of Contents
What is Anti-Inflammatory Harvest Glow Bowl?
The Anti-Inflammatory Harvest Glow Bowl is a powerhouse of nutrient-rich ingredients designed to help reduce inflammation naturally while delivering vibrant flavors and textures. It features roasted cauliflower and carrots, crispy chickpeas, and caramelized sweet potatoes—all tossed together with a creamy, lemony tahini yogurt sauce that ties everything together.
Each ingredient has its own health magic: cauliflower supports digestion, carrots are rich in beta-carotene, and chickpeas add protein and fiber. The tahini yogurt sauce brings a smooth tang that balances out the roasted veggies perfectly. Think of it as the kind of dish your body thanks you for—like a spa day, but for your insides. It’s hearty enough for dinner, light enough for lunch, and fancy enough to impress your most wellness-obsessed friend. If you love nourishing meals that don’t feel like “health food,” this bowl hits the mark.
Reasons to Try Anti-Inflammatory Harvest Glow Bowl
There are so many reasons to fall in love with this Anti-Inflammatory Harvest Glow Bowl. First, it’s the ultimate “feel-good food”—filling without being heavy, and flavorful without the guilt. Second, it’s perfect for busy schedules; most of the magic happens in the oven while you handle your million other to-dos. Third, it’s flexible.
Got leftover veggies? Toss them in. Want to add grilled chicken or salmon? Go for it. The balance of creamy, crispy, and tangy textures makes it crave-worthy even for those who claim not to like vegetables. Plus, it’s naturally anti-inflammatory thanks to ingredients like olive oil, tahini, and lemon—each helping to calm inflammation in the body. It’s the perfect bowl to make when you want comfort food that still supports your health goals. And if you loved our Sweet Potato and Chickpea Curry, this will be your next go-to.
Ingredients Needed to Make Anti-Inflammatory Harvest Glow Bowl
For Roasted Carrots and Cauliflower
- 1 head cauliflower, cut into florets
- 3 large carrots, cut into rounds
- 2 tbsp extra virgin olive oil
- ½ tsp garlic powder
- 1 tsp oregano
- 1 tsp paprika
- 1 tsp ground cumin
- ½ tsp salt
- ¼ tsp black pepper
- ½ lemon, juiced
- ¼ cup fresh parsley (optional)
For Roasted Chickpeas and Sweet Potatoes
- 1 can chickpeas, drained and dried
- 1 sweet potato, diced
- 2 tbsp olive oil
- ½ tsp cumin
- ½ tsp paprika
- ¼ tsp garlic powder
- ½ tsp salt
- ⅕ tsp pepper
For Tahini Yogurt Sauce
- 1 cup Greek yogurt (or plant-based alternative)
- ¼ cup tahini
- Juice of 1 lemon
- 2 tbsp olive oil
- 1 garlic clove
- ½ tsp cumin
- ½ tsp salt
For the Bowl
- Arugula or mixed greens
- Optional toppings like avocado, seeds, or microgreens

Instructions to Make Anti-Inflammatory Harvest Glow Bowl – Step by Step
Making this Anti-Inflammatory Harvest Glow Bowl is like crafting a little piece of edible art. Each step adds color, texture, and nourishment until you end up with a dish that’s just as beautiful as it is good for your body. Let’s walk through it step by step—no stress, no guesswork, just cozy kitchen vibes and a bowl full of flavor at the end.
Step 1: Prep the Veggies Like a Pro
First things first: preheat your oven to 425°F (220°C). While it’s warming up, grab your cutting board and start chopping the cauliflower into florets and slicing your carrots into even rounds. The goal here is to keep everything roughly the same size so they roast evenly—no sad, burnt carrot slices next to undercooked cauliflower!
Once chopped, line a baking sheet with parchment paper (less cleanup, more happiness). Add your veggies, drizzle with olive oil, and sprinkle on garlic powder, oregano, paprika, cumin, salt, and pepper. Use your hands to toss them until they’re evenly coated—yes, it’s a little messy, but that’s part of the fun. Spread them out in a single layer so they have room to roast instead of steam.
Pro Tip: If you want to learn how to roast veggies perfectly golden every time, check out my Roasted Garlic Cheddar Cauliflower Soup—it breaks down the roasting technique step by step.
Pop your veggies into the oven and let them roast for 25–30 minutes. Around the 20-minute mark, give them a quick stir so they brown evenly. When they’re starting to caramelize at the edges, drizzle with lemon juice and toss in chopped parsley (if using). Roast for another 5–10 minutes until they’re tender, golden, and smell amazing.
Step 2: Roast the Chickpeas and Sweet Potatoes
While your carrots and cauliflower are crisping up, move on to your chickpeas and sweet potatoes. Drain and rinse your chickpeas, then pat them dry using a clean towel—this step is crucial for that satisfying crunch. (Moisture is the enemy of crispy chickpeas!)
Toss the chickpeas in a bowl with olive oil, cumin, paprika, garlic powder, salt, and pepper. Spread them out on half of a second parchment-lined baking sheet. On the other half, add your diced sweet potatoes, a drizzle of olive oil, and a pinch of salt and pepper.
Slide the tray into the oven (middle rack is best) and roast for 20–28 minutes. Give everything a shake halfway through to keep things crisp and even. You’ll know the chickpeas are done when they’re golden and crunchy, and the sweet potatoes are soft on the inside with a slightly caramelized edge.
Quick Shortcut: If you’re short on time, you can also make crispy chickpeas using an air fryer—just like I do in my Crispy Air Fryer Chicken Tenders. Same method, different star ingredient!
Step 3: Whip Up the Dreamy Tahini Yogurt Sauce
Now that your veggies are doing their thing in the oven, it’s time to make the creamy, tangy sauce that ties it all together. Grab your blender or food processor and add in the yogurt, tahini, lemon juice, olive oil, garlic, cumin, and salt. Blend for about 60 seconds until smooth and velvety.
Taste and adjust to your liking—want more brightness? Add a splash of lemon. Craving extra creaminess? Add another spoon of tahini. If it’s too thick, blend in a tablespoon of water at a time until it’s pourable but not runny.
This sauce is the heart of your Anti-Inflammatory Harvest Glow Bowl, bringing together all the roasted, nutty, and citrusy notes in one swoon-worthy drizzle.
If you love sauces that make healthy food taste decadent, you’ll adore the dressing in my Greek Meatball Bowl with Tzatziki—it has a similar creamy, lemony vibe that’s just as addictive.
Step 4: Assemble Your Anti-Inflammatory Harvest Glow Bowl
Finally—the best part! Grab your favorite large bowl (you’ve earned it). Add a base layer of greens like arugula or spinach. Then, arrange your roasted cauliflower, carrots, chickpeas, and sweet potatoes in generous scoops around the bowl. Think of it like creating a little rainbow of goodness.
Now, the star moment: drizzle that tahini yogurt sauce over the top. Don’t be shy—this is what makes the whole thing sing. Add a squeeze of lemon, a sprinkle of herbs, or a handful of toasted seeds if you’re feeling fancy.
If you want to bulk up your bowl, feel free to add some extra protein—grilled chicken, tofu, or even a spoonful of quinoa all fit right in. For more hearty and balanced bowl ideas, check out my Mexican Chicken Burrito Bowl or Miso Peanut Ramen Bowls.
Step 5: Serve, Enjoy, and Store for Later
Sit down and enjoy your Anti-Inflammatory Harvest Glow Bowl right away while everything’s warm and crispy. It’s the kind of dish that makes you feel good inside and out—comforting, light, and bursting with earthy flavors.
Got leftovers? Lucky you. Store the roasted veggies and tahini sauce separately in airtight containers. The veggies will stay fresh in the fridge for up to 5 days, while the sauce keeps for about a week. Chickpeas are best stored in a jar with a loose lid at room temperature so they stay crunchy. When it’s time to reheat, use an oven or air fryer to bring back that perfect texture (skip the microwave if you can).
This step-by-step process makes it easy to enjoy healthy, anti-inflammatory meals even on your busiest days. It’s the kind of meal prep that feels less like a chore and more like a gift to your future self.
If you’re looking for another anti-inflammatory, veggie-forward favorite to prep next, try my Homemade Chickpea Potato Soup. It’s warm, comforting, and just as nourishing as this bowl.
What to Serve with Anti-Inflammatory Harvest Glow Bowl
This Glow Bowl is a complete meal on its own, but it pairs beautifully with a cup of soup or a protein side. Try it with our Homemade Chickpea Potato Soup for extra comfort or alongside Greek Meatball Bowl with Tzatziki if you’re feeding a family that loves variety. A side of Easy Greek Lemon Rice also complements the Mediterranean vibes perfectly. For drinks, herbal tea or lemon water keeps the anti-inflammatory theme going strong.
Key Tips for Making Anti-Inflammatory Harvest Glow Bowl
- Dry your chickpeas well before roasting—moisture kills crispiness.
- Don’t overcrowd the baking sheets; airflow = caramelization.
- Make the sauce ahead of time; it keeps for up to 5 days.
- Add protein if desired—grilled chicken or tofu blend right in.
- Double your veggies for easy meal prep lunches all week.
Storage and Reheating Tips for Anti-Inflammatory Harvest Glow Bowl
Keep roasted veggies and sauce stored separately in airtight containers. Veggies will last up to 5 days in the fridge, while the tahini sauce stays fresh for about a week. To reheat, use the oven or air fryer to bring back crispness (microwaving makes them soft). Chickpeas are best stored at room temperature in a loose-lid jar to maintain crunch. Reassemble your bowl with fresh greens just before serving—it keeps that just-made glow.
FAQs
Can I make this vegan? Absolutely—just use plant-based yogurt.
Can I meal prep this? Yes, it’s perfect for prepping on Sunday and enjoying all week.
Can I use frozen veggies? Sure! Just roast a bit longer for the same crispiness.
What can I substitute for tahini? Try almond butter or cashew butter for a twist.
Final Thoughts
The Anti-Inflammatory Harvest Glow Bowl isn’t just a meal—it’s a little moment of self-care in a bowl. With its mix of color, crunch, and creamy goodness, it brings joy back to healthy eating. It’s simple, satisfying, and nourishing—exactly what every busy woman (and her family) needs after a long day. For more glow-up recipes, check out our Miso Peanut Ramen Bowls or Mexican Chicken Burrito Bowl. Let’s nourish well, one delicious bowl at a time.
Follow us on Pinterest for weekly slow cooker inspiration, or join the conversation over on our Facebook page where fellow food lovers share their favorite comfort meal.
Print
Anti-Inflammatory Harvest Glow Bowl
- Prep Time: 15 minutes
- Cook Time: 30 minutes
- Total Time: 45 minutes
- Yield: 4 servings
- Category: Dinner
- Method: Roasting
- Cuisine: American
- Diet: Vegetarian
Description
This colorful Glow Bowl is a nourishing dinner packed with roasted cauliflower, carrots, sweet potato, and crispy chickpeas—all topped with a creamy tahini yogurt dressing for a burst of flavor and nutrition.
Ingredients
For Roasted Carrots and Cauliflower:
- 1 head cauliflower, cut into florets (or 12 oz precut)
- 3 large carrots, sliced into rounds
- 2 tablespoons extra virgin olive oil (more as needed)
- 1/2 teaspoon garlic powder
- 1 teaspoon oregano
- 1 teaspoon paprika
- 1 teaspoon ground cumin
- 1/2 teaspoon salt (more to taste)
- 1/4 teaspoon ground black pepper
- 1/2 large lemon, juiced (about 2 tablespoons)
- 1/4 cup fresh parsley, chopped (optional)
For Roasted Chickpeas and Sweet Potatoes:
- 1 can chickpeas (15.5–16 oz), rinsed and drained
- 1 sweet potato, diced
- 2 tablespoons extra virgin olive oil
- 1/2 teaspoon ground cumin
- 1/2 teaspoon paprika
- 1/4 teaspoon garlic powder
- 1/2 teaspoon salt (more to taste)
- 1/5 teaspoon ground black pepper (more to taste)
For Tahini Yogurt Sauce:
- 1 cup Greek yogurt (or plant-based yogurt)
- 1/4 cup tahini
- 1 large lemon, juiced (about 1/4 cup)
- 2 tablespoons extra virgin olive oil
- 1 clove garlic
- 1/2 teaspoon ground cumin
- 1/2 teaspoon salt
For the Bowl:
- Arugula or greens of choice (optional)
- Toppings of choice (optional)
Instructions
1. Preheat oven to 425°F (220°C). Line a rimmed baking sheet with parchment paper and spray with oil.
2. Chop cauliflower and carrots into bite-sized pieces. Spread on baking sheet. Drizzle with olive oil and season with garlic powder, oregano, paprika, cumin, salt, and pepper.
3. Roast vegetables for 25–30 minutes. Remove, add lemon juice and parsley, and roast for an additional 5–10 minutes until golden brown.
4. Line a second baking sheet with parchment paper. Rinse and dry chickpeas, discarding any loose skins.
5. In a bowl, toss chickpeas with olive oil, cumin, paprika, garlic powder, salt, and pepper. Spread chickpeas on one half of the baking sheet.
6. Dice sweet potato and add to the other half of the baking sheet. Drizzle with olive oil, salt, and pepper. Roast for 20–28 minutes.
7. While vegetables roast, make the tahini yogurt sauce. Combine yogurt, tahini, lemon juice, olive oil, garlic, cumin, and salt in a blender or food processor. Blend until smooth.
8. To assemble, add tahini yogurt sauce to a bowl. Top with arugula, sweet potatoes, roasted carrots and cauliflower, and chickpeas. Add toppings and a squeeze of lemon. Serve and enjoy!
Notes
Chop vegetables ahead of time or buy pre-cut to save time.
For extra crispy chickpeas, make sure they are well dried before roasting.
Store roasted vegetables and sauce in the fridge for 4–5 days. Store chickpeas separately at room temperature in a jar with the lid slightly open for up to 7 days.
This nutrient-dense meal contains plant-protein, fiber, and healthy fats, plus antioxidants and vitamins like A and C.
Make prep fun by listening to music or a podcast during your “chopping power hour.”